


What makes self-leveling sealant ideal for floor joints?
- 1) What exact width-to-depth ratio and bond-breaker method should I use for self-leveling sealant in concrete slab joints to prevent adhesive failure?
- 2) Can I apply self-leveling sealant over existing epoxy or PU floor coatings without removing them, and what preparation ensures durable adhesion?
- 3) How long must I wait before reopening a newly sealed floor joint with self-leveling polyurethane to forklift or pallet traffic at 20°C and 50% RH?
- 4) Which primers and substrate pretreatments notably improve adhesion of moisture-curing polyurethane self-leveling sealants to porous concrete?
- 5) How do I calculate expected thermal movement and select a self-leveling sealant with the right movement capability for large expansion joints in an industrial warehouse?
- 6) What steps prevent surface defects like fish-eyes and premature skinning when pouring self-leveling sealant in joints wider than 25 mm on damp concrete?
- Conclusion — Advantages of Self-Leveling Sealant for Floor Joints
Why Self-Leveling Sealant Is Ideal for Floor Joints: 6 Expert Answers
Self-leveling sealant is the go-to solution for horizontal joints because it flows to form a smooth, uninterrupted surface that resists traffic, abrasion and ponding water. This guide answers six specific, specialist questions beginners frequently ask yet find only superficial or outdated answers to online. Guidance below references common industry standards (e.g., ASTM C920, ISO 11600) and practical field data; always confirm details with the product Technical Data Sheet (TDS) and Safety Data Sheet (SDS).
1) What exact width-to-depth ratio and bond-breaker method should I use for self-leveling sealant in concrete slab joints to prevent adhesive failure?
Recommended practice for many pourable polyurethane and polysulfide self-leveling sealants is to control sealant depth to limit stress and ensure two-sided adhesion only. Follow this approach:
- Width-to-depth rule: target a depth equal to approximately 50% of the joint width (i.e., depth = width/2). For example, for a 20 mm wide joint, aim for ~10 mm depth. This 2:1 width-to-depth ratio minimizes tensile and shear stresses at the bond line (a principle used in elastomeric sealant design and referred to in industry standards such as ASTM C920).
- Minimum/maximum practical depths: many manufacturers set a minimum depth ~6 mm and advise a maximum depth ~12 mm for single-pass self-levelers—deeper fills increase cure time, shrinkage risk and exotherm. Always check the product TDS; high-performance grades can allow greater depths but will specify limits.
- Bond-breaker: do NOT use a compressible backer rod across the base of the joint for pourable self-leveling systems because the sealant must form a free, two-sided bond only. Instead use a bond-breaker tape (polyethylene or specialized bond-breaker) or apply a temporary tape at the base to prevent three-sided adhesion and to control depth. Masking tape can be used and removed after cure if compatible with the product.
- Edge profile: joint faces should be vertical and parallel where possible. Avoid undercuts, honeycombed edges or laitance—grind to sound concrete and remove dust.
Why this matters: incorrect depth or a three-sided bond concentrates movement at one surface, leading to cohesive failure (sealant tear) or adhesive failure (delamination). Controlling depth and using a proper bond-breaker produces a flexible compressible core and reliable side adhesion.
2) Can I apply self-leveling sealant over existing epoxy or PU floor coatings without removing them, and what preparation ensures durable adhesion?
Short answer: sometimes — but only after specific evaluation and preparation. Epoxy/polyurethane floor coatings change substrate porosity and adhesion; many self-leveling sealants are formulated to bond to concrete, not to cured coatings. To get a reliable result:
- Adhesion test: perform an adhesion/pull-off test (e.g., cohesion/adhesion test per project QA) in representative locations. If the coating delaminates from the concrete under test, you must remove the coating at the joint edge back to sound concrete.
- Surface preparation: if the coating is sound and you plan to bond the sealant to the coating surface, abrade the coating to a near-matte profile (recommended 60–80 grit mechanical abrasion or shot-blasting) and solvent-clean to remove oils and contaminants. For porous coatings, ensure no tack remains.
- Primer: many manufacturers require a primer for non-porous substrates. Use the primer listed on the sealant TDS and follow dwell time instructions. Priming improves adhesion to cured polyurethanes and epoxy when a direct bond is acceptable.
- Compatibility check: confirm chemical compatibility. Some solvent-based sealants or primers can soften certain coatings; a small, accelerated cure patch is prudent before full application.
If the floor coating is delaminated, loose, or you cannot abrade effectively at the joint, full removal of the coating at the joint and bonding to the concrete is the safest long-term solution.
3) How long must I wait before reopening a newly sealed floor joint with self-leveling polyurethane to forklift or pallet traffic at 20°C and 50% RH?
Cure and return-to-service times depend on product chemistry (moisture-curing PU, polysulfide, silicone), joint depth and ambient conditions. Typical practical guidance for many moisture-curing polyurethane self-levelers:
- Surface skin/initial set: 30 minutes to 3 hours at 20°C / 50% RH (skin time varies by formulation and depth).
- Light foot traffic: often permitted after 24 hours under controlled conditions.
- Forklift/pallet traffic: conservative rule is 3–7 days for light industrial forklift traffic at 20°C / 50% RH; heavier or continuous traffic may need 7 days or more.
- Full mechanical properties: 7–14 days (or longer for deep fills); tensile/elongation and hardness continue to develop until full cure.
Use the product TDS cure schedule as the authoritative source. If rapid return-to-service is required, specify a traffic-grade, fast-curing product and schedule work in dry, warm conditions (higher temp and RH accelerate moisture-curing PUs). Performing a small load test before full operational use is a recommended QA step.
4) Which primers and substrate pretreatments notably improve adhesion of moisture-curing polyurethane self-leveling sealants to porous concrete?
Successful adhesion to porous concrete is a combination of mechanical soundness and chemical priming. Practical, widely used steps include:
- Concrete soundness: remove laitance, curing compounds, and weak surfaces by diamond grinding or light shot-blasting to expose solid aggregate/cream and achieve a clean, absorbent profile.
- Cleaning: vacuum and then solvent wipe (acetone or product-recommended solvent) where oils, grease or contaminants are present. For heavily contaminated slabs, use an alkaline cleaner, rinse thoroughly and allow to dry.
- Primers: many PU self-levelers list a silane or polyurethane-based primer on the TDS for porous concrete. These primers penetrate the substrate and help manage moisture drive during cure. Examples: single-component moisture-tolerant primers specifically formulated by the sealant manufacturer. Always use the primer specified by the sealant vendor—generic primers can void warranties.
- Drying: allow the primer to flash/dry per the TDS; don’t apply sealant over wet primer unless the TDS explicitly allows it.
- Test patches: do adhesion checks per project QA to confirm bond strength before large-area application.
Note: primer selection is product-specific; consult manufacturer technical data and follow the primer’s temperature and humidity limits.
5) How do I calculate expected thermal movement and select a self-leveling sealant with the right movement capability for large expansion joints in an industrial warehouse?
Selection requires quantifying expected movement and choosing a sealant with adequate movement capability (expressed as percent ± movement in the product data). Steps:
- Calculate expected linear movement: movement = (coefficient of thermal expansion) × (temperature change) × (joint length/fixed reference). For typical concrete CTE ≈ 8–12 × 10^-6 /°C. Example: for a 10 m slab with ΔT of 40°C, expected linear change ≈ 10,000 mm × 10×10^-6 × 40 = 4 mm (total), so ±2 mm each side from mid-size if joint splits movement. Translate that to percent movement relative to nominal joint width.
- Convert to percent movement: percent movement = (maximum movement / nominal joint width) × 100. If your 40 mm joint must accommodate ±2 mm movement, percent movement = (2 / 40) × 100 = 5% (well within many sealants’ capacity). If joints are narrower, same movement yields higher percent demands.
- Select sealant movement class: many self-leveling sealants are rated for ±25% (ASTM C920 Class 25) and some for ±50% (Class 50). For industrial warehouses with moderate temperature swings, a Class 25 product is often sufficient; for wide temperature swings or seismic exposure, specify a Class 50 or a specialized high-movement sealant.
- Design joint width: if calculated movement exceeds sealant capability, increase nominal joint width or redesign joint spacing to reduce percent movement demand on the sealant.
Always document the delta-T used, the assumed CTE and joint spacing in project records. Where in doubt, consult a structural engineer and specify a higher movement-rated sealant or use a two-stage joint system (e.g., compressible filler + sealer) for safety.
6) What steps prevent surface defects like fish-eyes and premature skinning when pouring self-leveling sealant in joints wider than 25 mm on damp concrete?
Surface defects arise from contamination, moisture outgassing, incompatible residues or incorrect ambient conditions. To avoid them:
- Moisture management: moisture-curing PUs need substrate moisture to cure but excess water (ponding or active vapor drive) can cause bubbling or fish-eyes. Perform a plastic sheet or relative humidity (RH) test in slabs to detect vapor drive; if RH is high, use a vapor-tolerant formulation or delay work.
- Substrate prep: remove oils, curing agents, and latent surface contaminants. Grind to remove laitance; vacuum and tack-wipe with approved solvent. Do not use water washing unless slab can dry fully.
- Priming & adhesion promoters: use a manufacturer-recommended primer which can act as a barrier to minor vapor outgassing and improves wetting. Apply within the primer’s open window.
- Working environment: apply self-levelers within manufacturer temperature/humidity windows. Low temperature and low RH slows cure and increases skinning time; high humidity accelerates surface cure and can trap volatiles. Typical workable band for many self-levelers is about 5–35°C and 20–80% RH—verify on product TDS.
- Mixing and dispensing: avoid introducing air during dispensing. For cartridge or bulk pour, use controlled pumps or pour slowly to prevent entrainment. For joints >25 mm, pour in a single continuous pass rather than multiple interrupted pours when possible.
- Surface film control: when skinning is a problem, consider specifying a formulation with lower VOCs and optimized rheology for slump resistance; some products include anti-skin additives. Contact manufacturer tech service for product-specific solutions if fish-eyes appear during trial pours.
Troubleshooting: if fish-eyes appear on test pours, stop and run adhesion/compatibility tests, confirm RH and solvent contamination, and consult the sealant manufacturer's technical service before continuing full-scale application.
Industry standards & sources: the guidance above aligns with principles in ASTM C920 (Specification for Elastomeric Joint Sealants) and ISO 11600 (Classification of construction sealants). Product-specific cure times, primer compatibility, and allowable joint depths must be verified on each manufacturer’s Technical Data Sheet (TDS) and Safety Data Sheet (SDS).
Conclusion — Advantages of Self-Leveling Sealant for Floor Joints
Self-leveling sealants are ideal for horizontal floor joints because they provide a smooth, low-profile, traffic-ready finish that resists ponding, abrasion and dirt accumulation. When properly selected and installed they accommodate thermal movement, cure to durable elastomeric properties, and minimize maintenance compared with non-flowable sealants. Key benefits: fast, even flow into irregular joints; single-pass application for many widths; engineered movement capability (ASTM C920/Class 25 or 50 options); and compatibility with traffic and cleaning regimes when correctly cured and primed.
For project-specific recommendations, product datasheets, or a tailored quote please contact us for a quote: visit www.kingdelisealant.com or email info@kingdeliadhesive.com. Our technical team can provide TDS, primer matches, and on-site application guidance to ensure long-term joint performance.
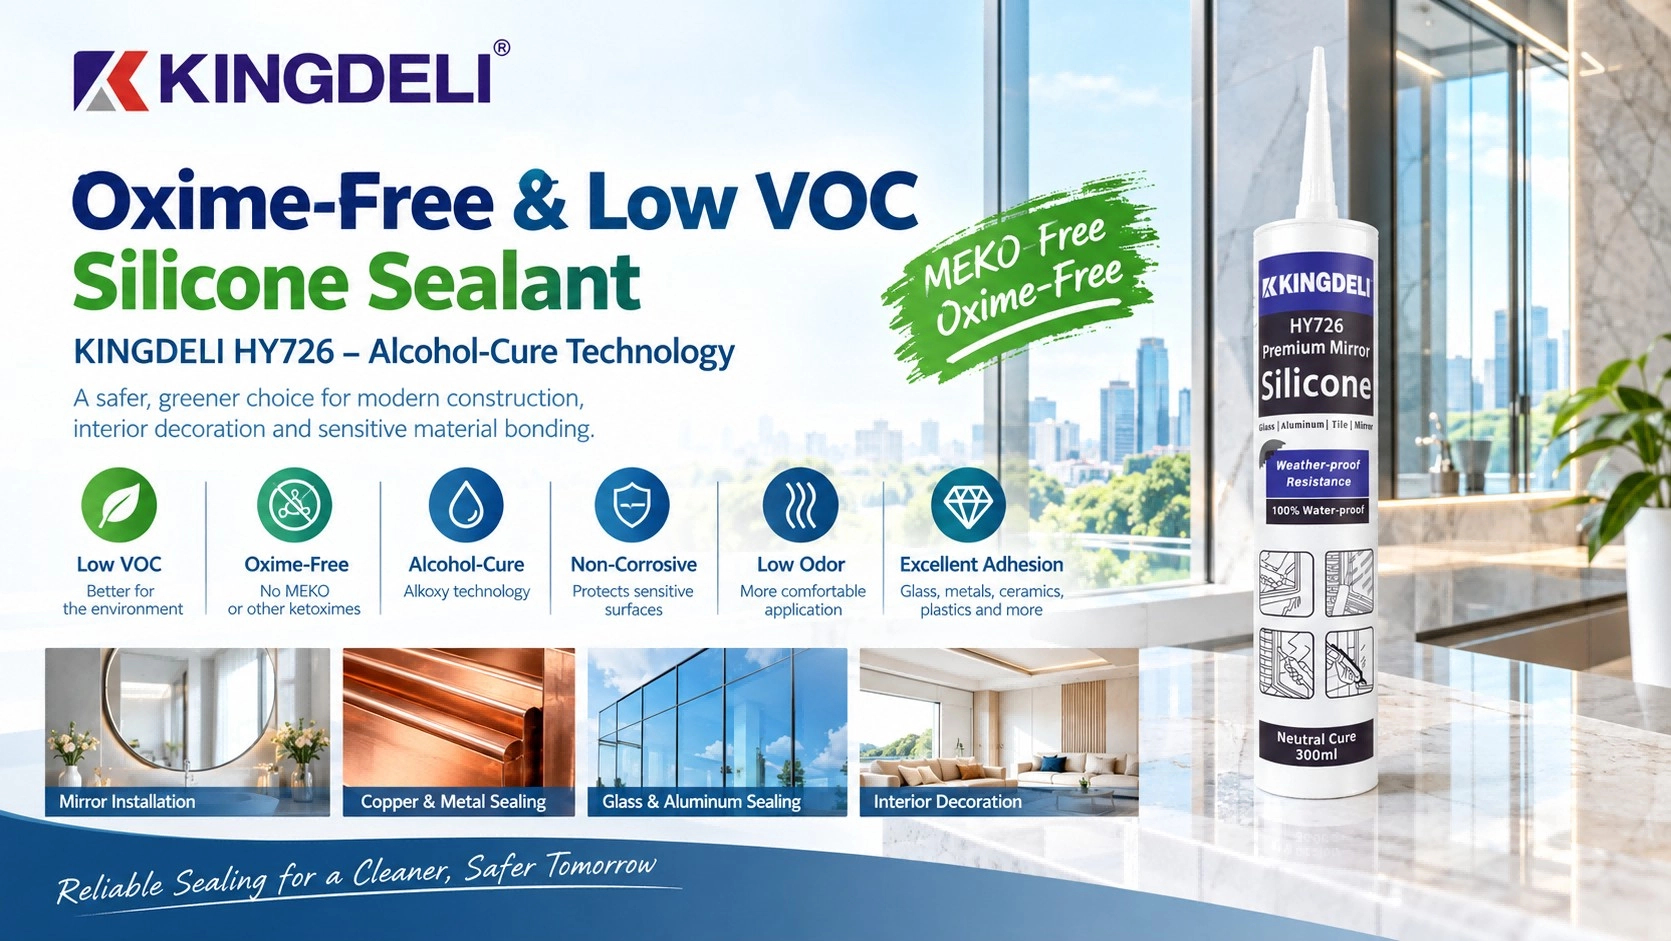
Oxime-Free & Low VOC Silicone Sealant: Discover KINGDELI HY726 Alcohol-Cure Technology
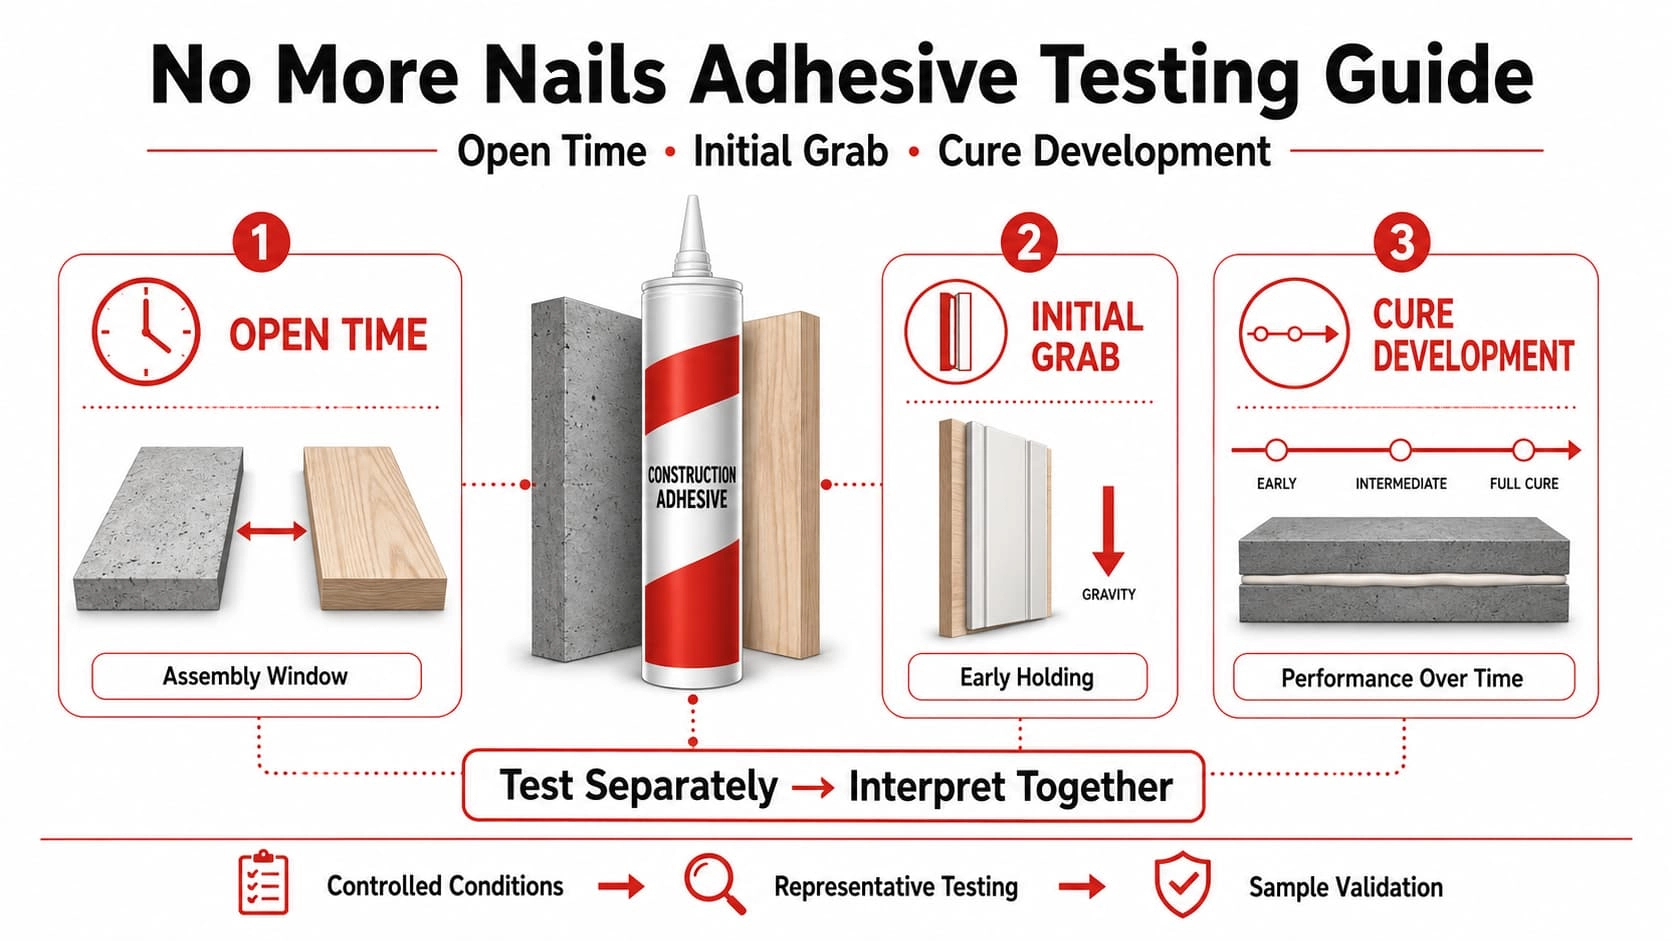
No More Nails Adhesive Open Time, Grab Strength, and Cure Testing Guide
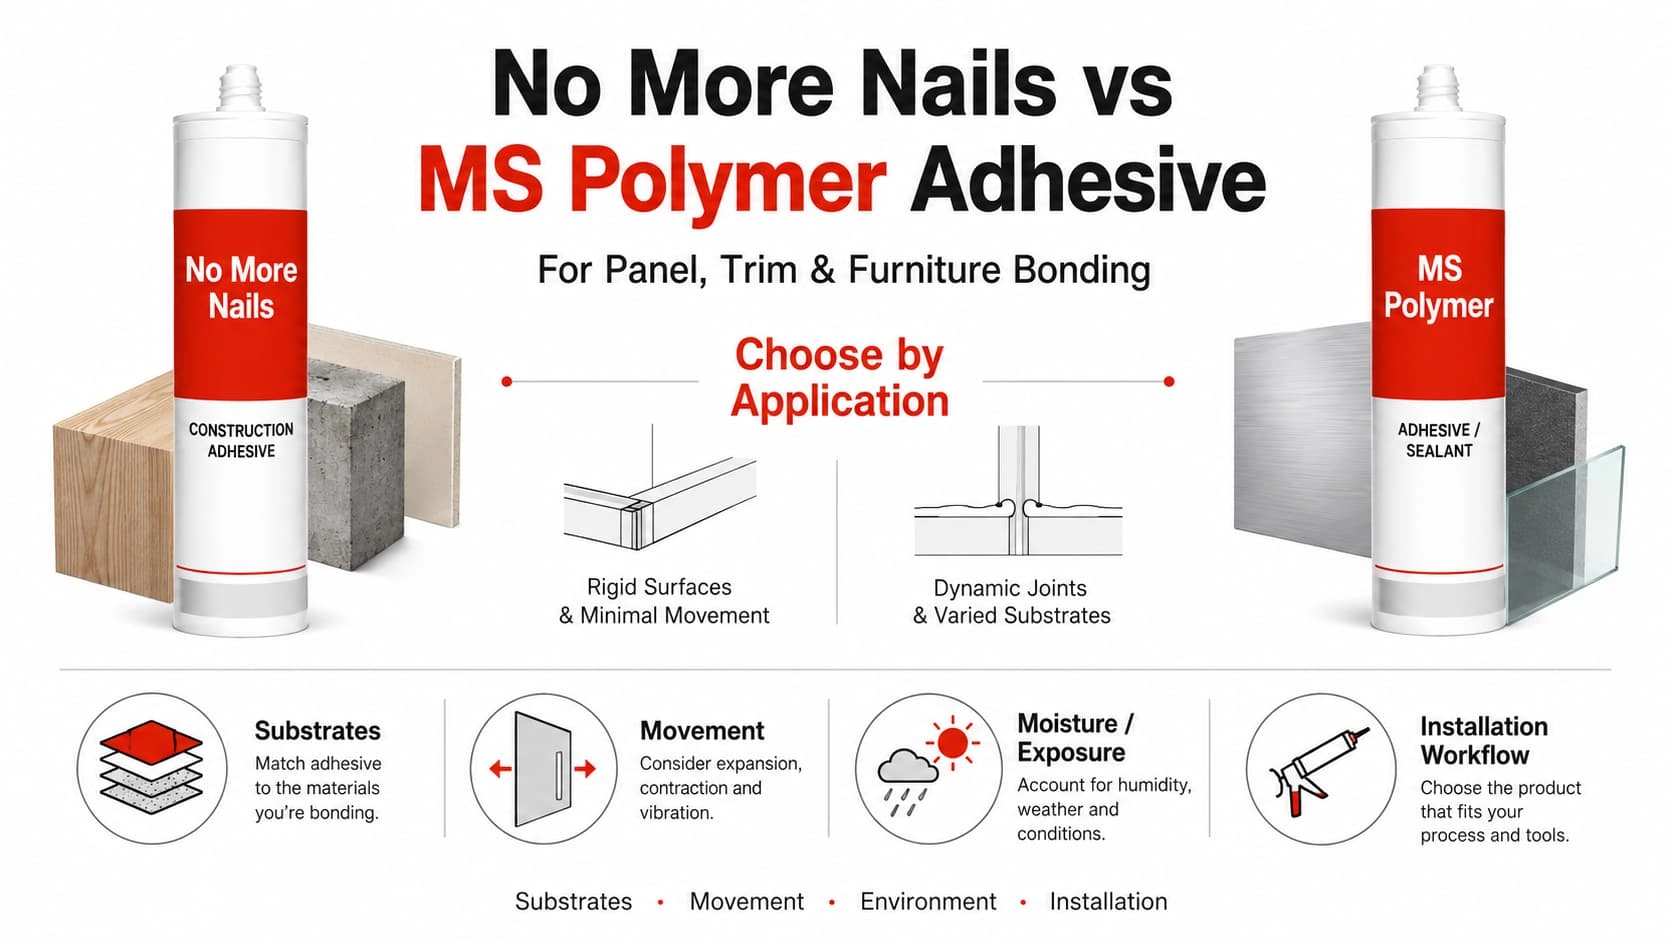
No More Nails vs MS Polymer Adhesive for Panel, Trim, and Furniture Bonding
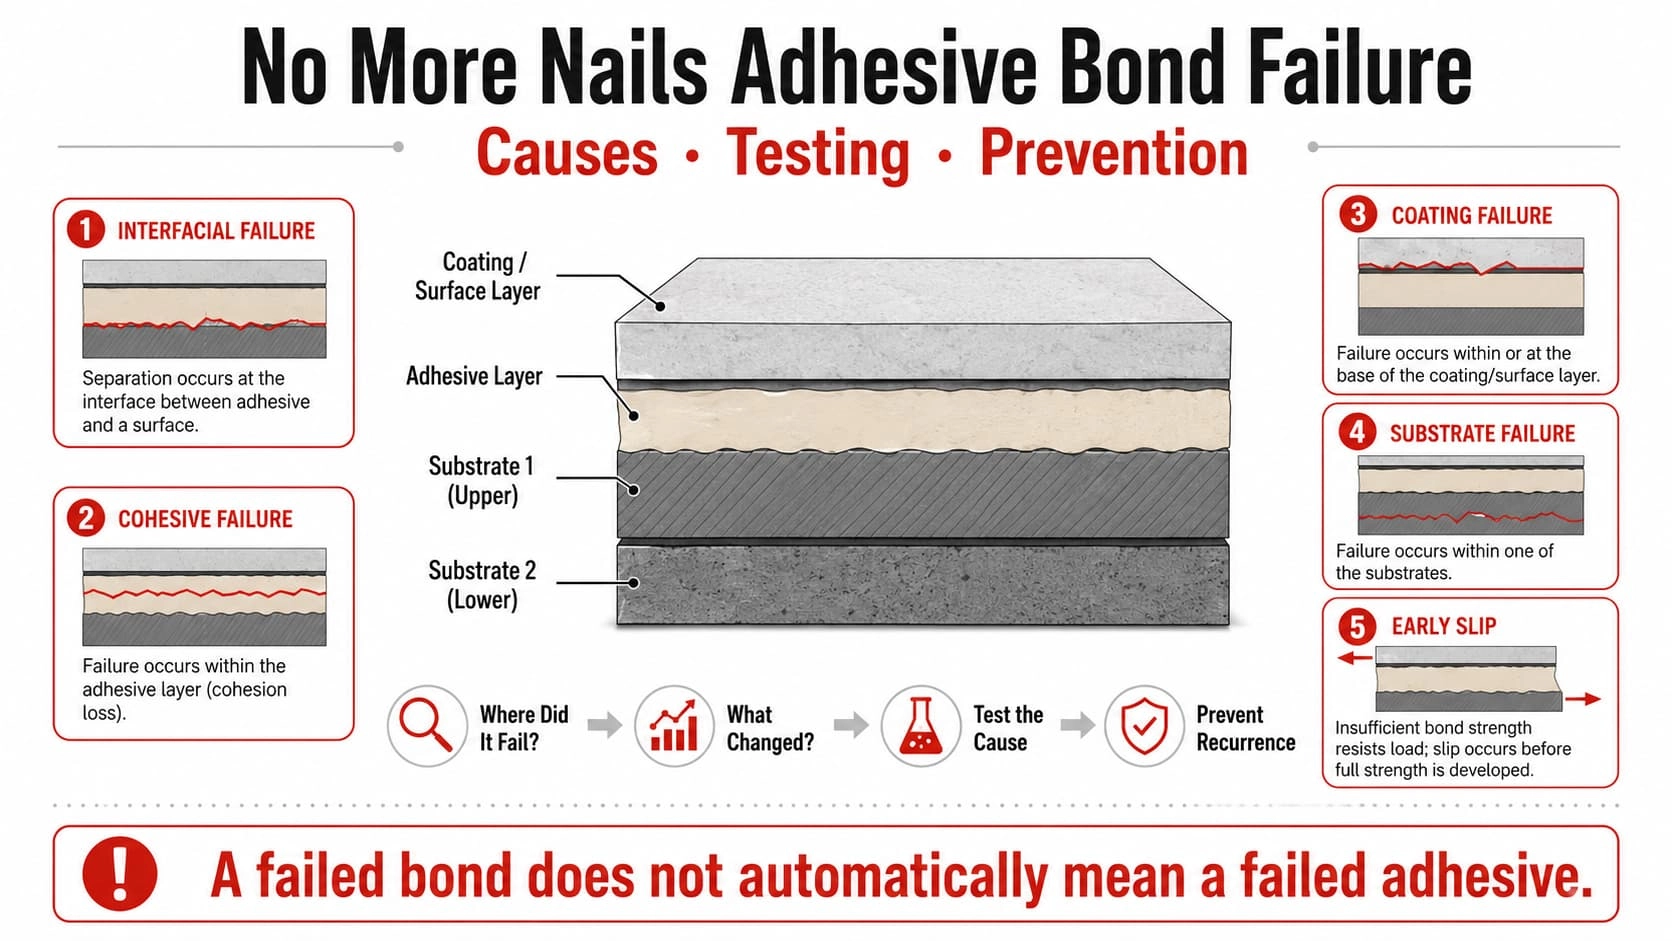
No More Nails Adhesive Bond Failure: Causes, Testing, and Prevention
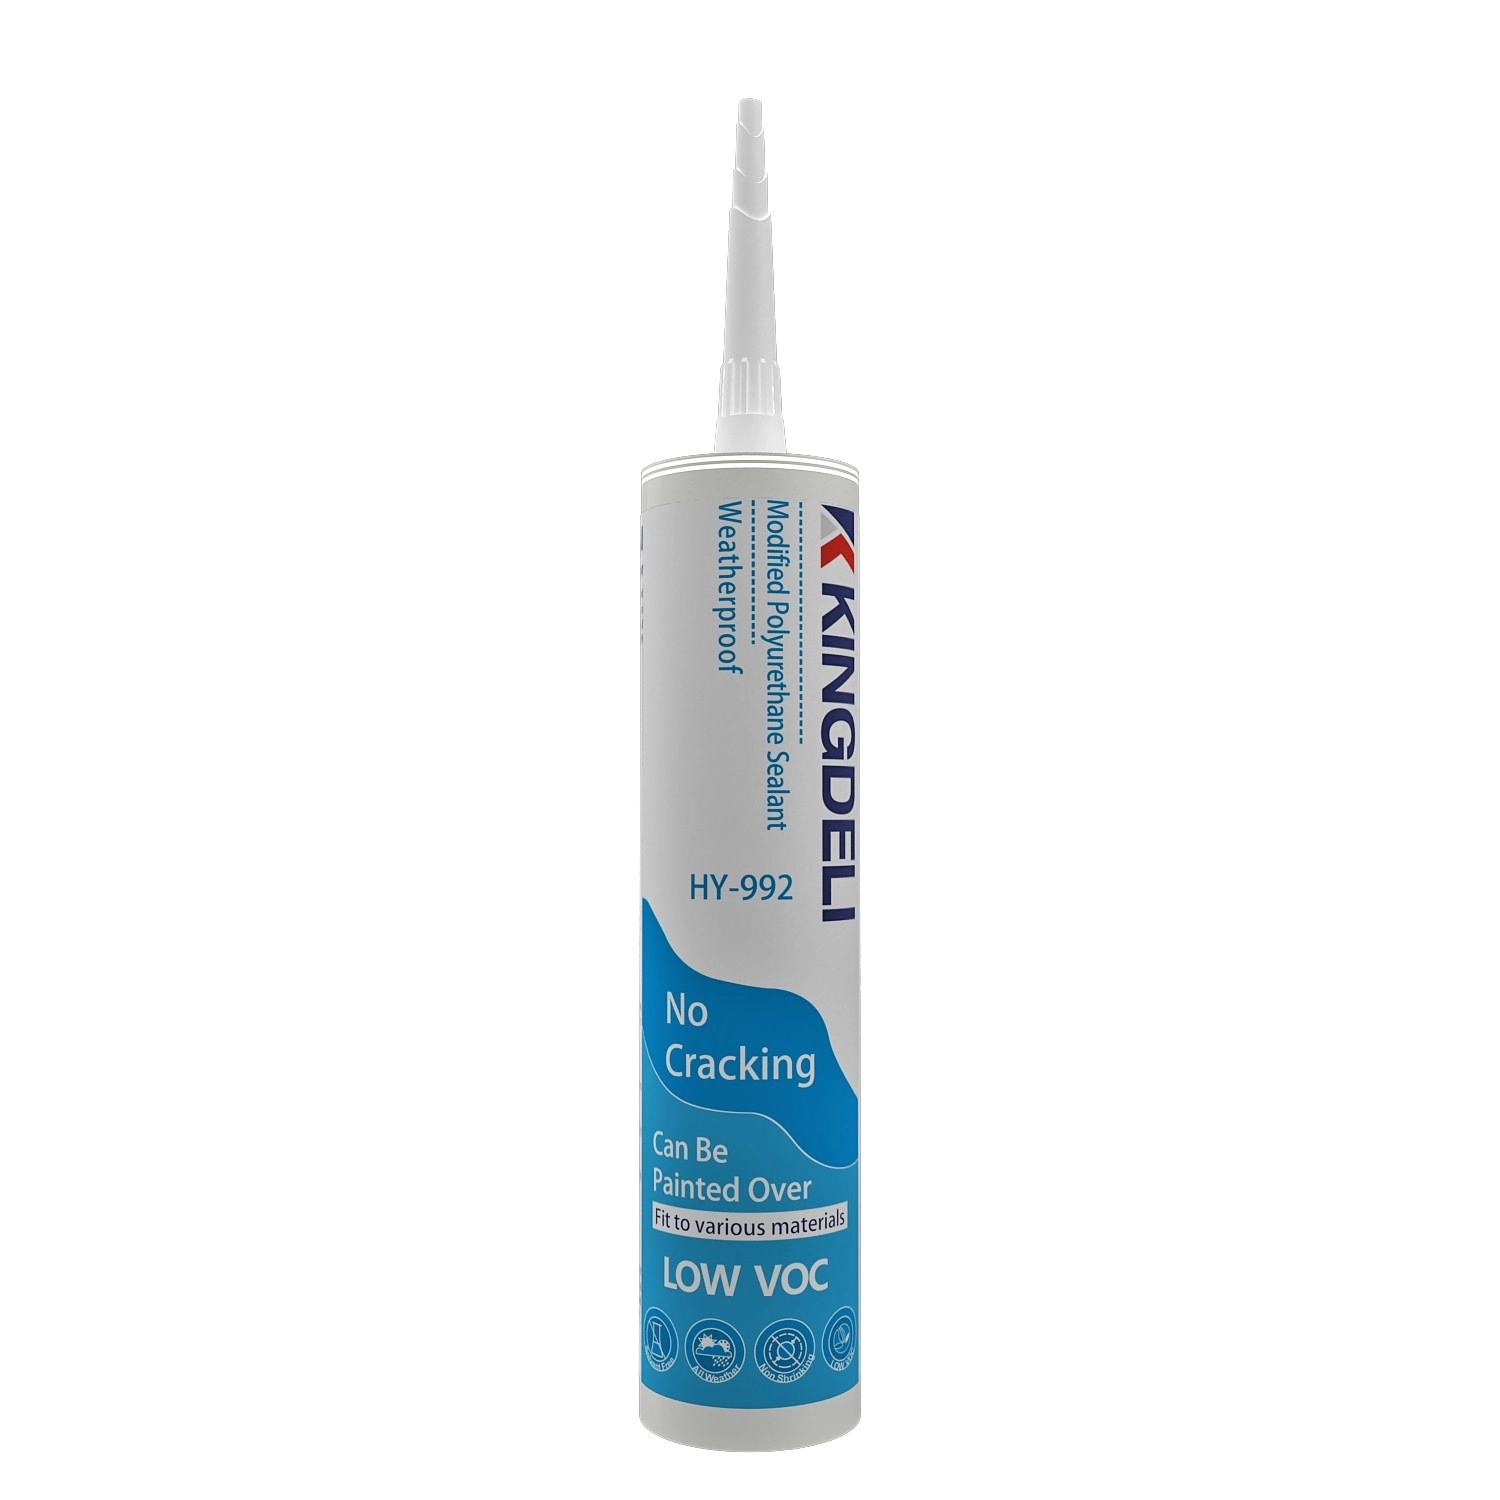
HY992 Modified Polyurethane Construction Sealant
HY992 Modified Polyurethane Sealant is a one-component, moisture-curing construction sealant designed for professional building and structural sealing applications. It provides excellent adhesion, weather resistance, and durable elasticity, making it suitable for a wide range of construction materials.
The formulation delivers strong bonding performance without corrosion or substrate contamination, while maintaining low VOC content for environmentally responsible construction projects.

HY995 Crystal Clear Ms Polymer Adhesive/Sealant
HY995 Crystal Clear Ms Polymer Adhesive/Sealant is a new generation MS Polymer adhesive / sealant formulated for all bonding and sealing applications where long term reliability is required. It has excellent bonding strength on various materials. It will cure to form a durable, flexible, waterproof seal.

HY997 High-Performance Anti-Microbial MS Polymer Sealant
HY997 MS polymer sealant for is is a premium one-component, neutral-curing modified silane sealant engineered for demanding interior applications. It offers a Class 20 movement capability, ensuring long-lasting flexibility and reliable performance under dynamic joint conditions. Curing at room temperature, HY997 delivers superior anti-microbial and mildew-resistant properties, maintaining hygienic and clean environments over time.
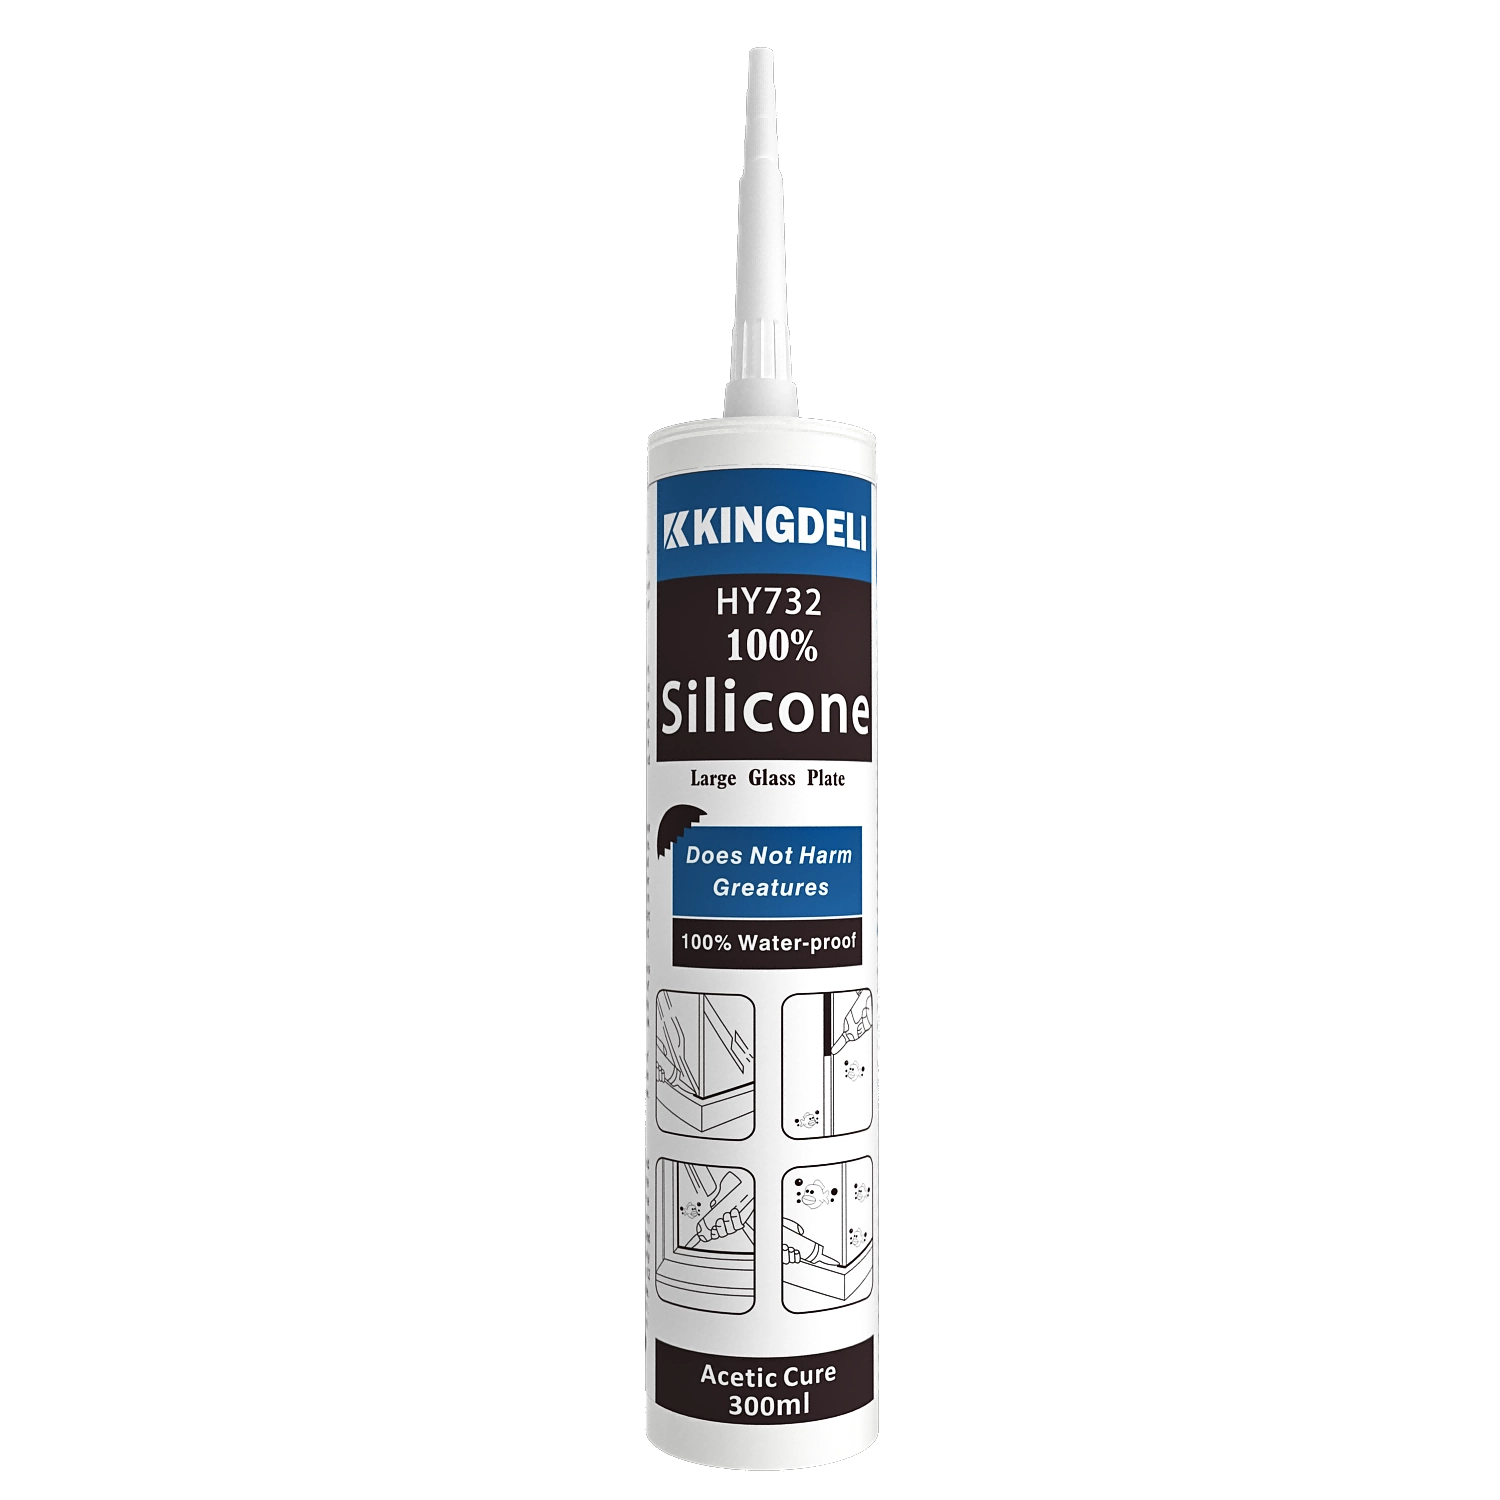
KINGDELI HY732 Professional Acetoxy Cure Silicone Sealant
KINGDELI HY732 is a professional-grade, one-component acetoxy cure silicone sealant designed for fast curing, strong adhesion, and long-lasting flexibility. Ideal for aquariums, glass applications, aluminum doors and windows, kitchens, and bathrooms, it provides reliable sealing performance with excellent anti-fungal protection in high-humidity environments.
Let’s Build Stronger Bonds with Quality Adhesives and Sealants
Have questions about the topic or need tailored sealant solutions for your project?
Our team is ready to provide expert guidance, product recommendations, and application support.
Innovating with Integrity, Bonding the World
Since 1998, KINGDELI has delivered trusted, sustainable sealant solutions that connect industries and inspire progress worldwide.
Whatsapp: +8618825946249
Kingdeli
Kingdeli
Kingdeli
Kingdeli
Kingdeli