


How to install epoxy tile grout for industrial floors?
How to install epoxy tile grout for industrial floors?
Installing durable, chemical-resistant epoxy tile grout for industrial floors requires disciplined substrate preparation, strict mixing and pot-life control, correct tooling and joint profiling, and validated curing protocols to achieve long-term mechanical and chemical performance.
This guidance focuses on verifiable best practices—surface profile standards, mixing discipline, tooling choices, environmental controls, testing, and maintain/repair procedures—so specifiers and installers avoid common failures associated with inadequate preparation or rushed cures.
Conclusion & KINGDELI advantage
For industrial tile applications where downtime, chemical exposure and mechanical loads are critical, following standardized surface-preparation criteria (ICRI CSP 3–5 for bonded systems), strict mixing discipline, and validated cure windows is non-negotiable. KINGDELI combines formulated epoxy systems and technical field support to translate lab performance into reliable site outcomes, including product selection, jobsite QC checklists, and trial patches to validate adhesion and cure before full-scale rollout. Our technical team supports specification, on-site troubleshooting, and material compatibility reviews to reduce rework risk and extend floor service life.
For a competitive quote and specification support, contact KINGDELI at www.kingdelisealant.com or email info@kingdeliadhesive.com.
FAQ
What surface preparation is essential before installing epoxy grout?
Effective surface preparation is the foundation for successful epoxy grout. Mechanically remove all laitance, coatings, curing compounds and contaminants—use shot blasting or diamond grinding to achieve an ICRI concrete surface profile (CSP) 3–5 for bonded epoxy systems. Grease, oils and form-release agents must be removed with appropriate solvent cleaning followed by detergent and rinse; solvent-only cleaning is not sufficient where residues remain. For ceramic or porcelain tile, ensure the backs are clean and sound; textured backs may require a primer specified by the manufacturer. Always verify substrate moisture and temperature: substrate temperature should be at least 3 °C (5 °F) above the dew point to avoid condensation and amine-blush; measure moisture with calibrated CM or in-situ relative humidity probes where required. Perform a small adhesion test (pull-off per ASTM D4541 or a qualified field shear test) and a sample patch before committing to large areas.
How to select the correct epoxy grout mix ratio and pot life?
Mix ratio and pot life are product-specific—always follow the manufacturer’s technical datasheet. Industrial epoxy grouts are formulated as multi-part systems (resin, hardener, fillers) and many require precise weight or pre-measured units to control stoichiometry; incorrect ratios cause incomplete cure, reduced strength and surface tack. Pot life typically ranges from 10 minutes (fast-cure at elevated temperatures) to 45–60 minutes for general-purpose systems at 20–25 °C (68–77 °F). Factors that shorten pot life: higher ambient/substrate temperature, accelerated curing additives, and larger batch sizes. To control workability: use small batch mixing, mix only what can be applied within pot life, and employ cool storage for components on hot days. Mix with a slow-speed drill (<400 rpm) and a manufacturer-approved paddle to minimize air entrainment; mix for the exact time specified and scrape container sides and bottom to ensure full incorporation.
Which tools and trowel sizes optimize epoxy grout application speed?
Tool selection balances speed, control and a clean joint finish. For tiled industrial floors use heavy-duty epoxy grout floats or rubber squeegees to force grout into joints, followed by margin trowels for confined areas. Typical joint widths for industrial tile range from 3 mm to 10 mm (1/8"–3/8"); select a grout float or grout spear sized to fully fill the joint and reach 2/3 to full joint depth. For larger repairs or bodying work use a stainless-steel trowel and epoxy mixing paddle; for high-volume projects consider pneumatic or electric grout pumps designed for epoxy mortars—these reduce hand fatigue and help maintain consistent mix-to-apply timing. Use a keyed grout profile (concave or flush) to improve load transfer and reduce edge chipping. Always work with sealed buckets and quick-access tools because cured epoxy is difficult to remove.
How to control grout joint profile and avoid lippage in industry?
Joint profile control starts with consistent tile bedding and spacer control. Ensure tiles are uniformly bedded to the same plane before grouting; correct unevenness with thin bedding mortars, not excessive grout thickness. Use grout tends to be rigid—limit grout thickness to manufacturer recommendations (typically minimize thickness and avoid unsupported spans). For lippage prevention, verify tile flatness and runability during setting, use leveling systems where required, and only grout after adhesive has sufficiently cured; this prevents movement that traps the epoxy and causes high spots. Tool joints by striking or tooling the grout to a slightly concave profile to shed liquids and reduce edge exposure. For movement joints, do not fill with rigid epoxy; use specified flexible sealants or engineered joint systems—rigid epoxy across movement joints will crack and delaminate.
What curing protocols and temperature controls ensure industrial epoxy grout strength?
Cure is temperature and formulation dependent. Typical benchmarks: light foot traffic often allowed after 24–48 hours at 20–25 °C (68–77 °F); vehicle or heavy mechanical traffic usually requires 48–72 hours; full chemical resistance and ultimate mechanical properties commonly develop over 7 days. Higher temps accelerate cure but shorten pot life—plan mixing and placement accordingly. Maintain stable ambient and substrate temperatures within the manufacturer’s recommended range during the entire initial cure period; avoid cooling below the dew point. Monitor relative humidity to prevent condensation; for low-temperature installations consider heated enclosures or select a low-temperature cure epoxy system. Always verify cure with a simple hardness check and, for critical installations, laboratory testing (compressive strength and adhesion) on prepared sample panels.
How to perform long-term maintenance and repair for epoxy grout floors?
Maintenance preserves performance: clean regularly with pH-neutral detergents and avoid high-acid or strong solvent cleaners that can attack cured epoxy over time. For chemical spills, follow manufacturer chemical-resistance data—remove spills promptly and rinse with water. For light surface wear, mechanical cleaning (rotary scrubber with non-abrasive pads) restores appearance. For localized failures—adhesion loss, cracks or gouges—remove the damaged epoxy by grinding or shot blasting back to sound substrate, clean and prime if required, and reapply a compatible epoxy repair mortar or regrout with the same product family to ensure chemical compatibility and bond. For joints showing movement or repeated failure, assess underlying causes (thermal movement, substrate deflection, insufficient bedding) and replace with an engineered joint solution rather than repeated epoxy patches. Document maintenance procedures and inspection intervals as part of the facility’s preventive maintenance program to extend service life and preserve warranty coverage.
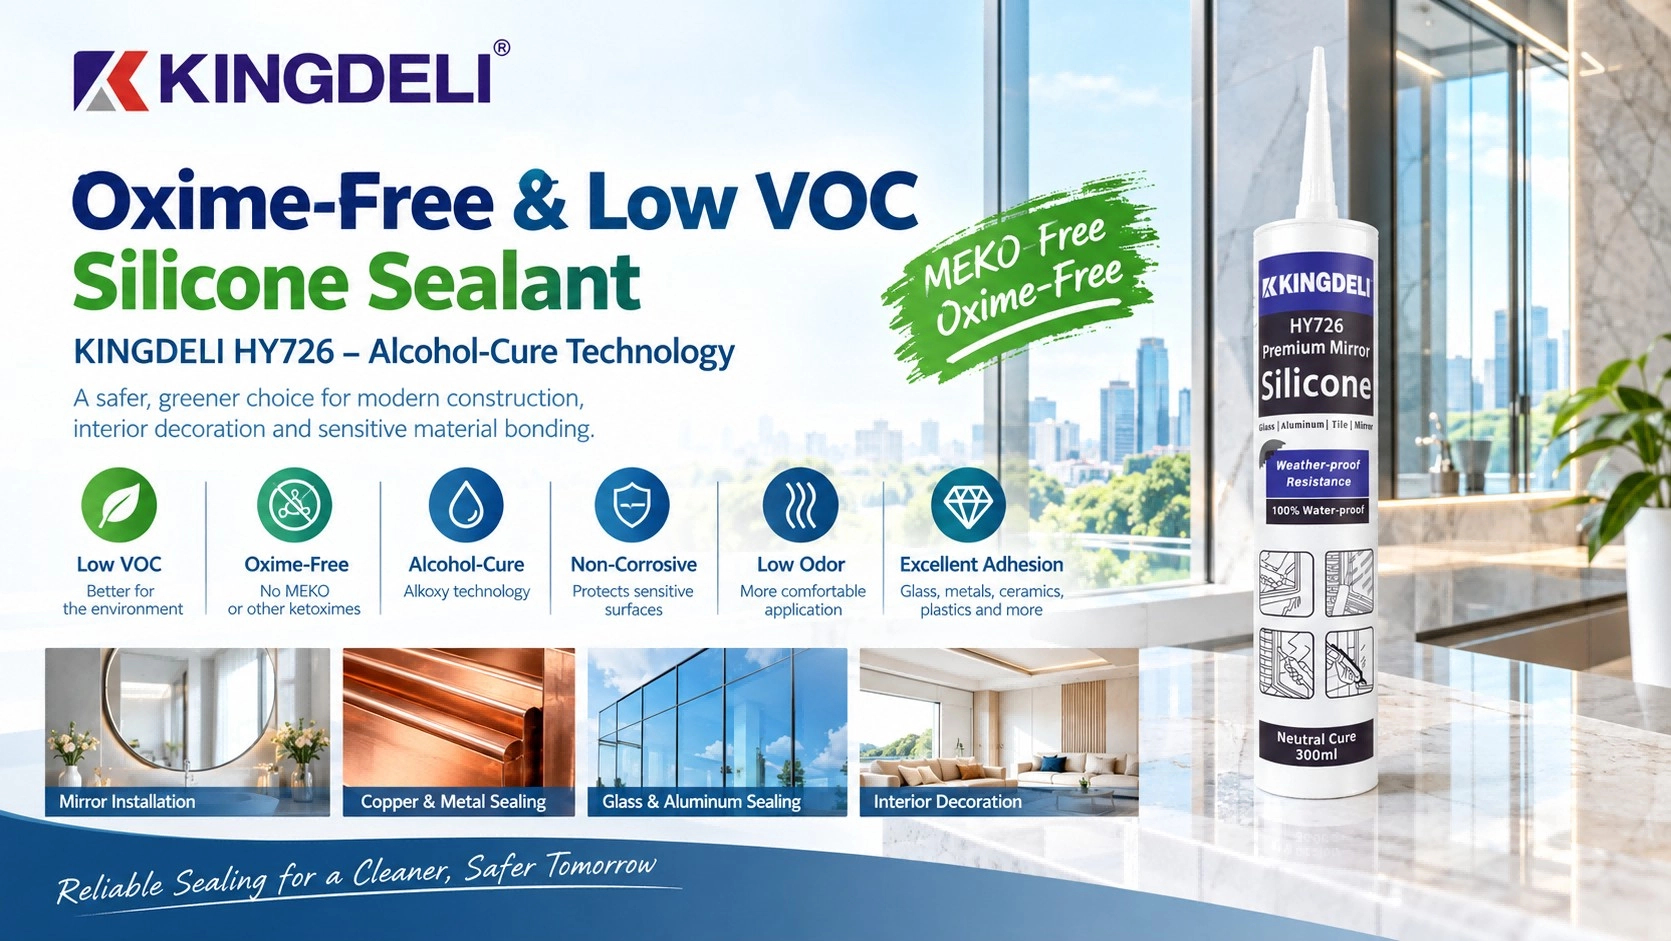
Oxime-Free & Low VOC Silicone Sealant: Discover KINGDELI HY726 Alcohol-Cure Technology
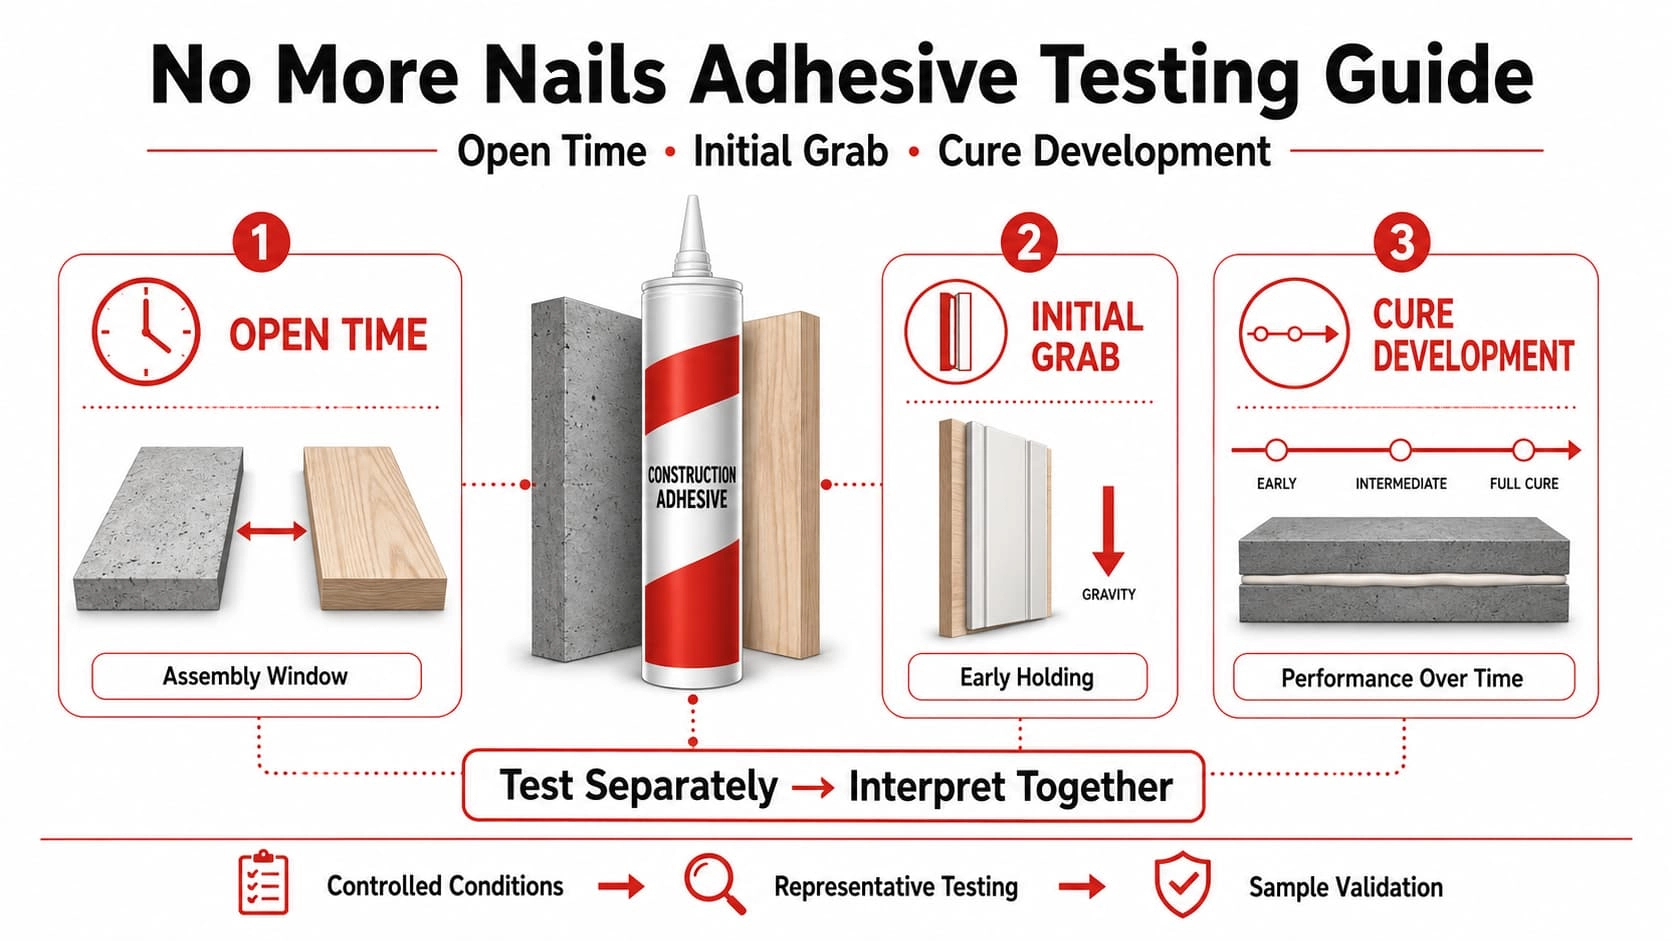
No More Nails Adhesive Open Time, Grab Strength, and Cure Testing Guide
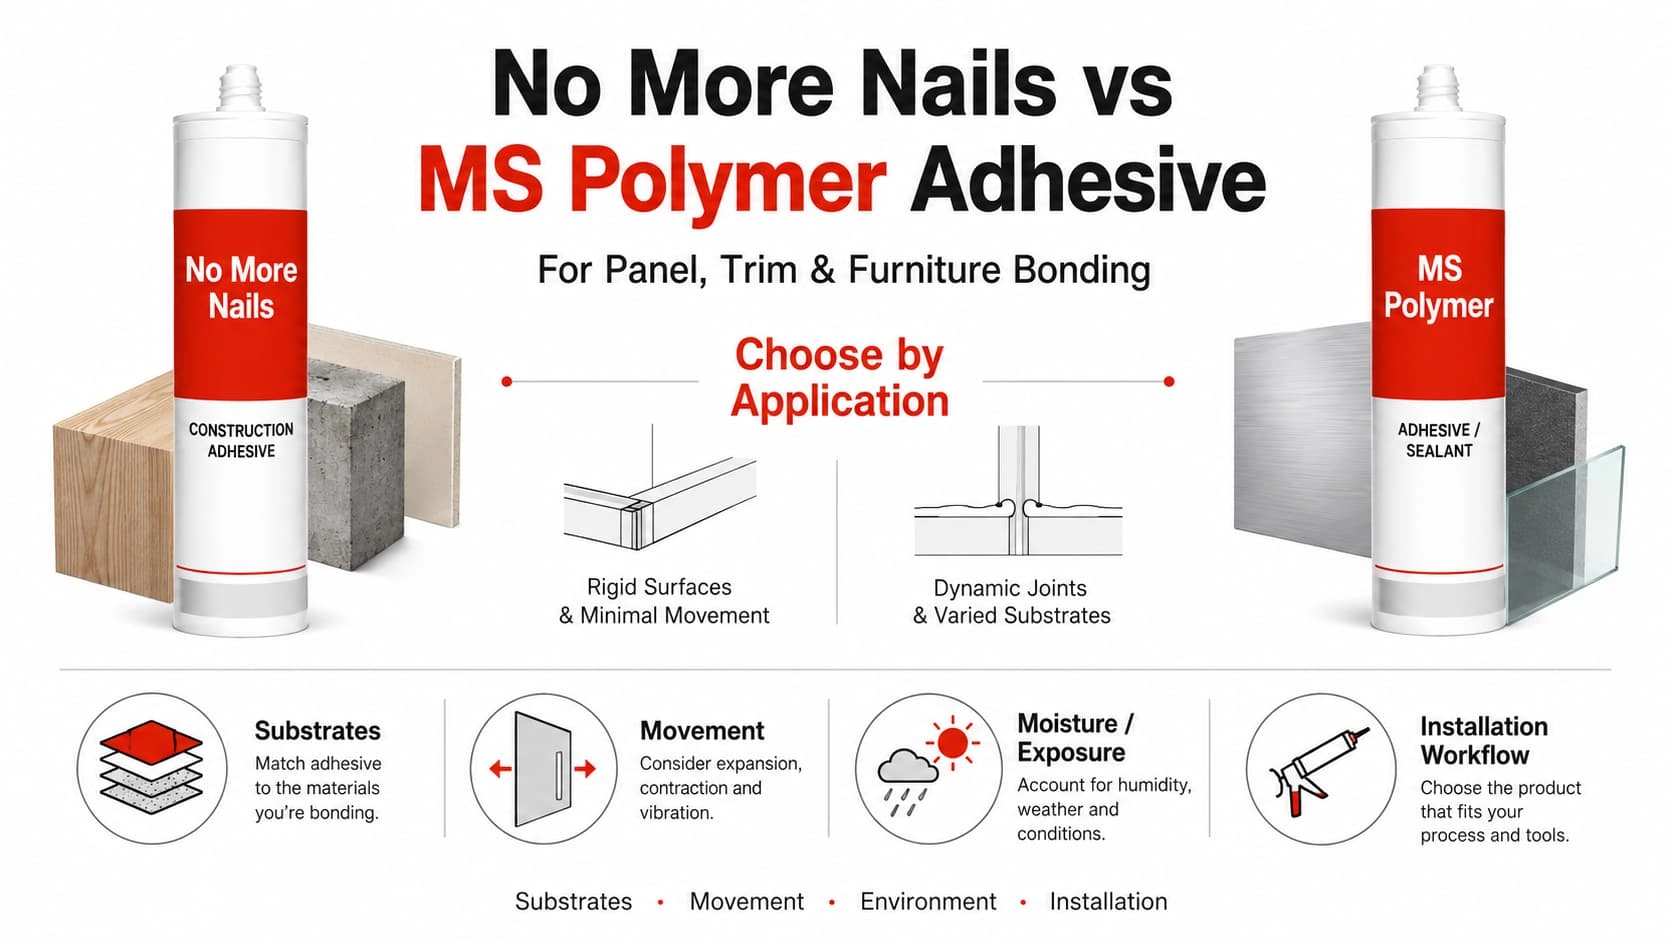
No More Nails vs MS Polymer Adhesive for Panel, Trim, and Furniture Bonding
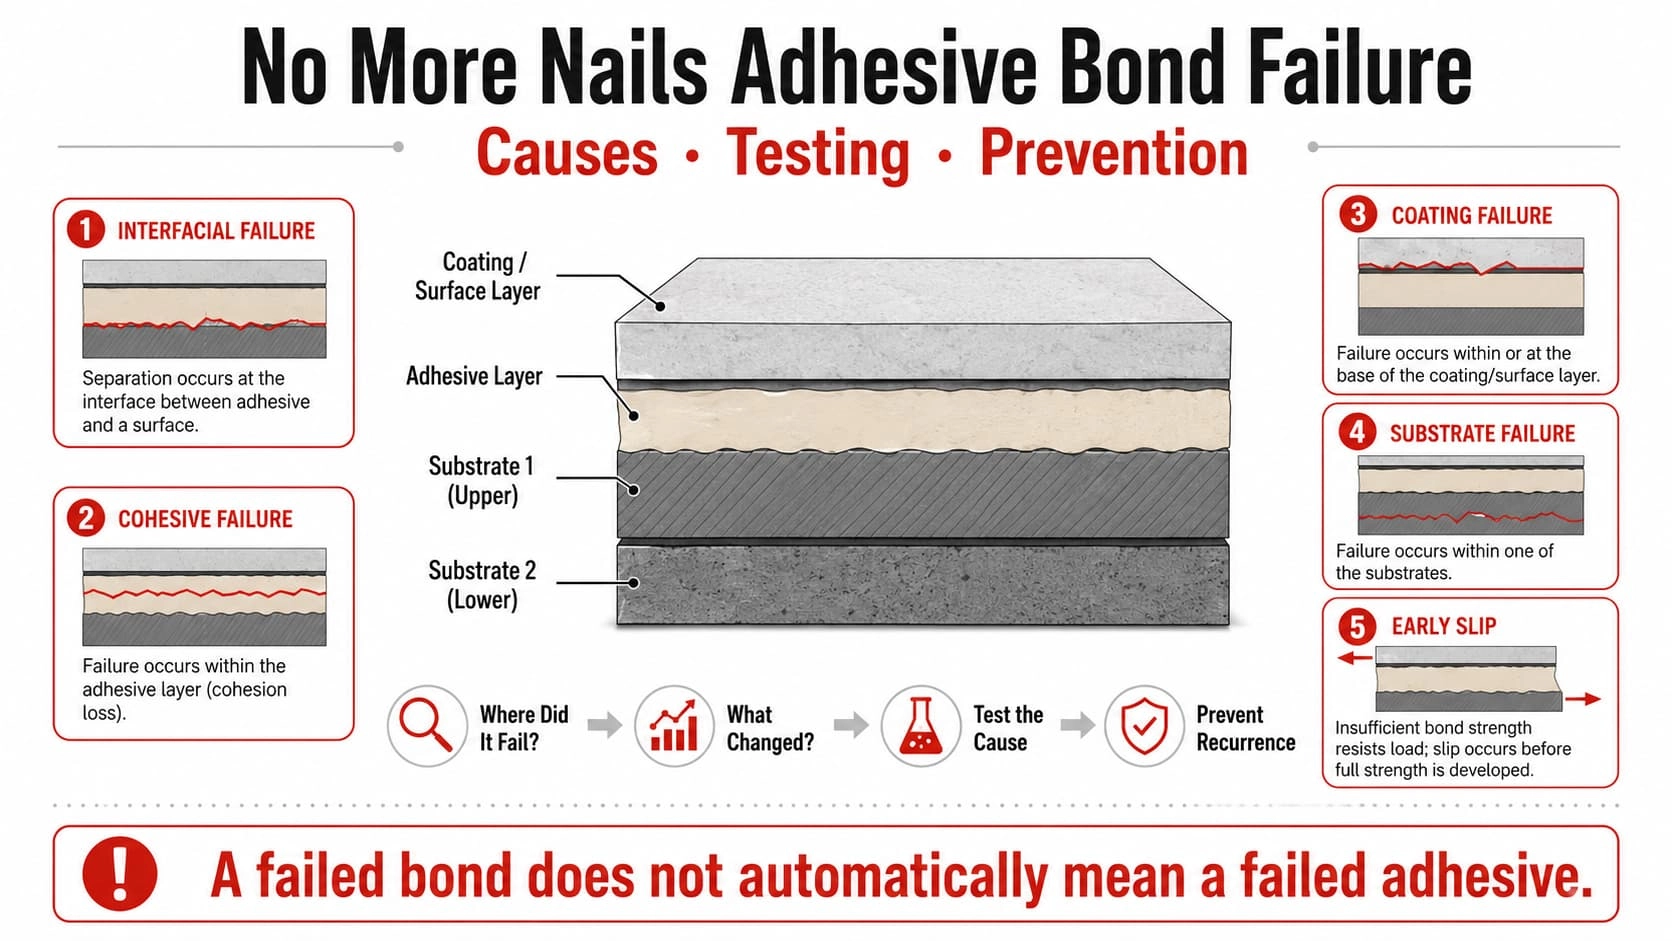
No More Nails Adhesive Bond Failure: Causes, Testing, and Prevention
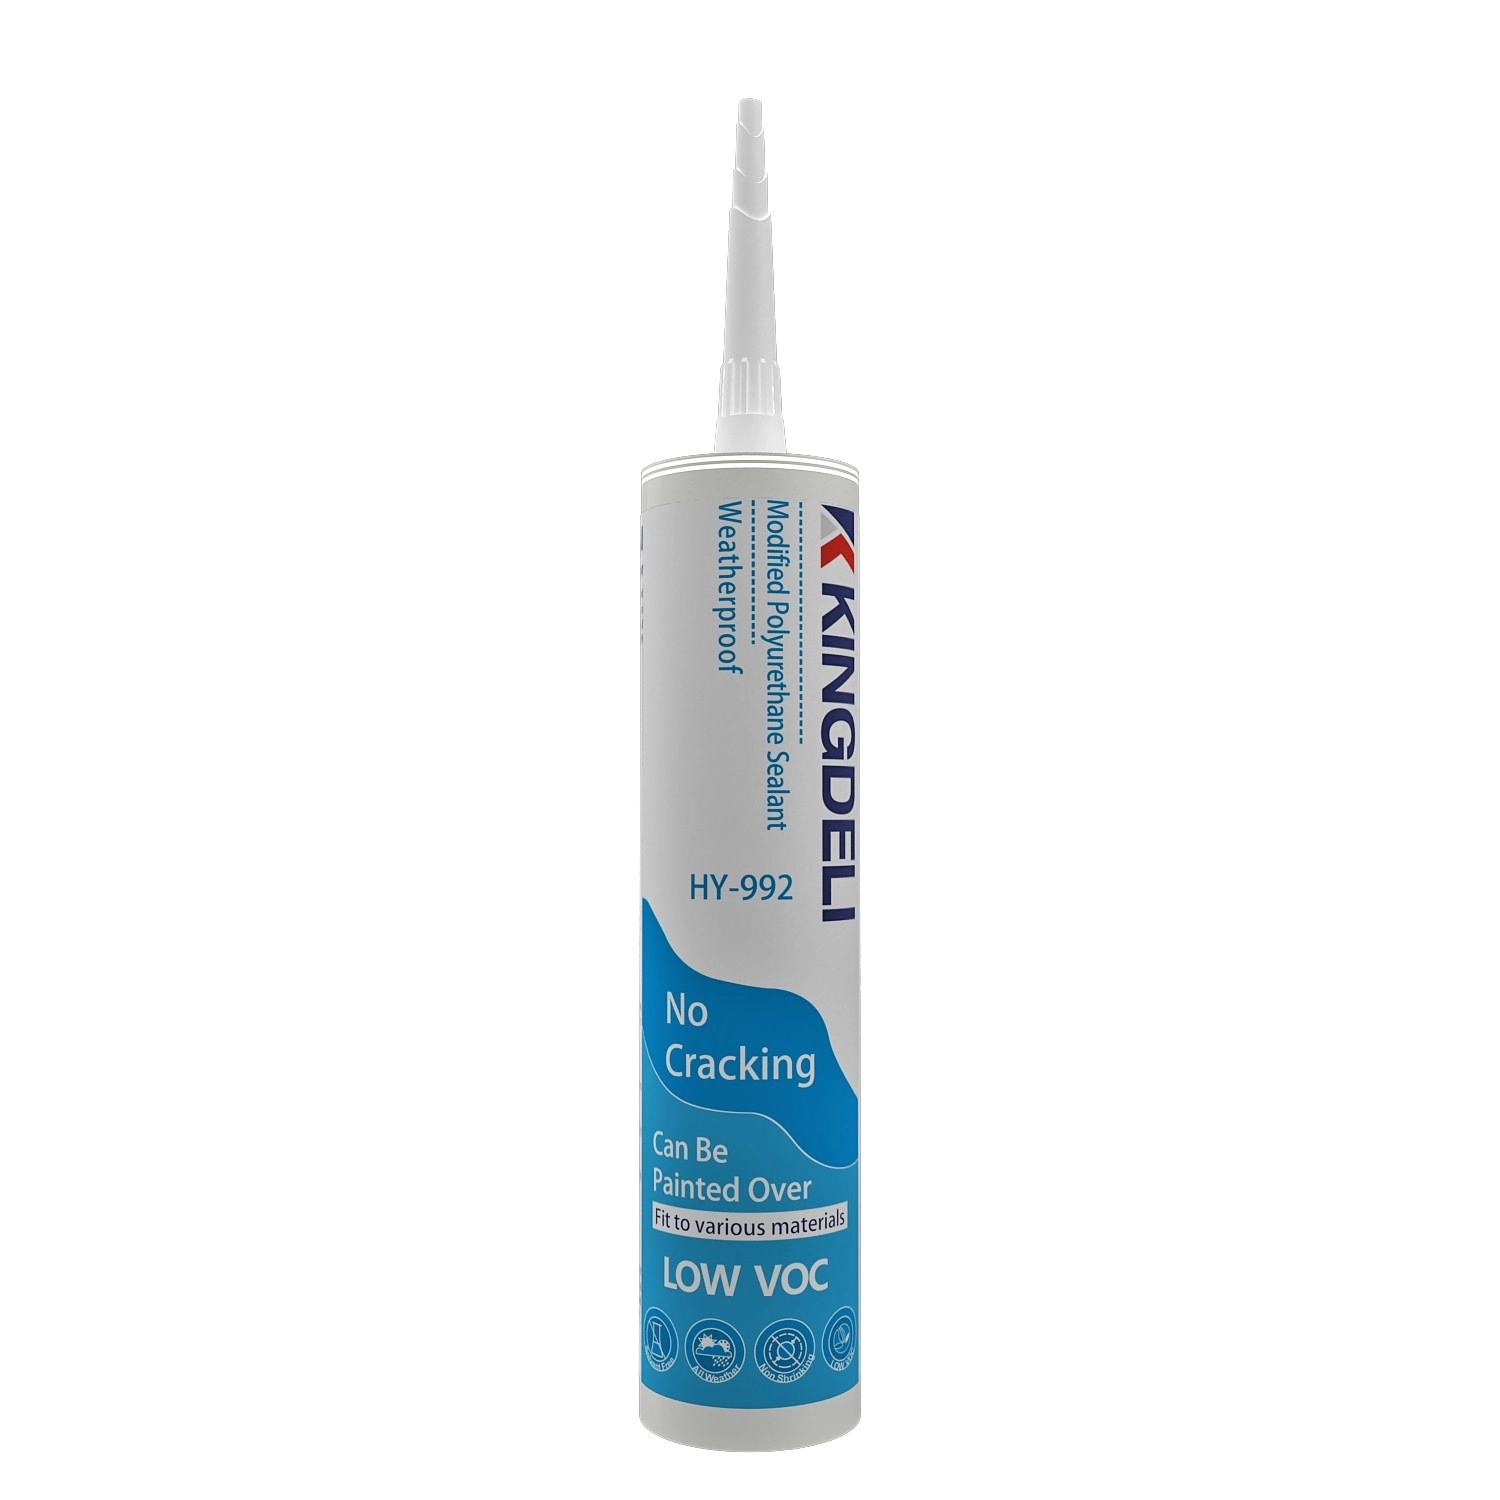
HY992 Modified Polyurethane Construction Sealant
HY992 Modified Polyurethane Sealant is a one-component, moisture-curing construction sealant designed for professional building and structural sealing applications. It provides excellent adhesion, weather resistance, and durable elasticity, making it suitable for a wide range of construction materials.
The formulation delivers strong bonding performance without corrosion or substrate contamination, while maintaining low VOC content for environmentally responsible construction projects.

HY995 Crystal Clear Ms Polymer Adhesive/Sealant
HY995 Crystal Clear Ms Polymer Adhesive/Sealant is a new generation MS Polymer adhesive / sealant formulated for all bonding and sealing applications where long term reliability is required. It has excellent bonding strength on various materials. It will cure to form a durable, flexible, waterproof seal.

HY997 High-Performance Anti-Microbial MS Polymer Sealant
HY997 MS polymer sealant for is is a premium one-component, neutral-curing modified silane sealant engineered for demanding interior applications. It offers a Class 20 movement capability, ensuring long-lasting flexibility and reliable performance under dynamic joint conditions. Curing at room temperature, HY997 delivers superior anti-microbial and mildew-resistant properties, maintaining hygienic and clean environments over time.
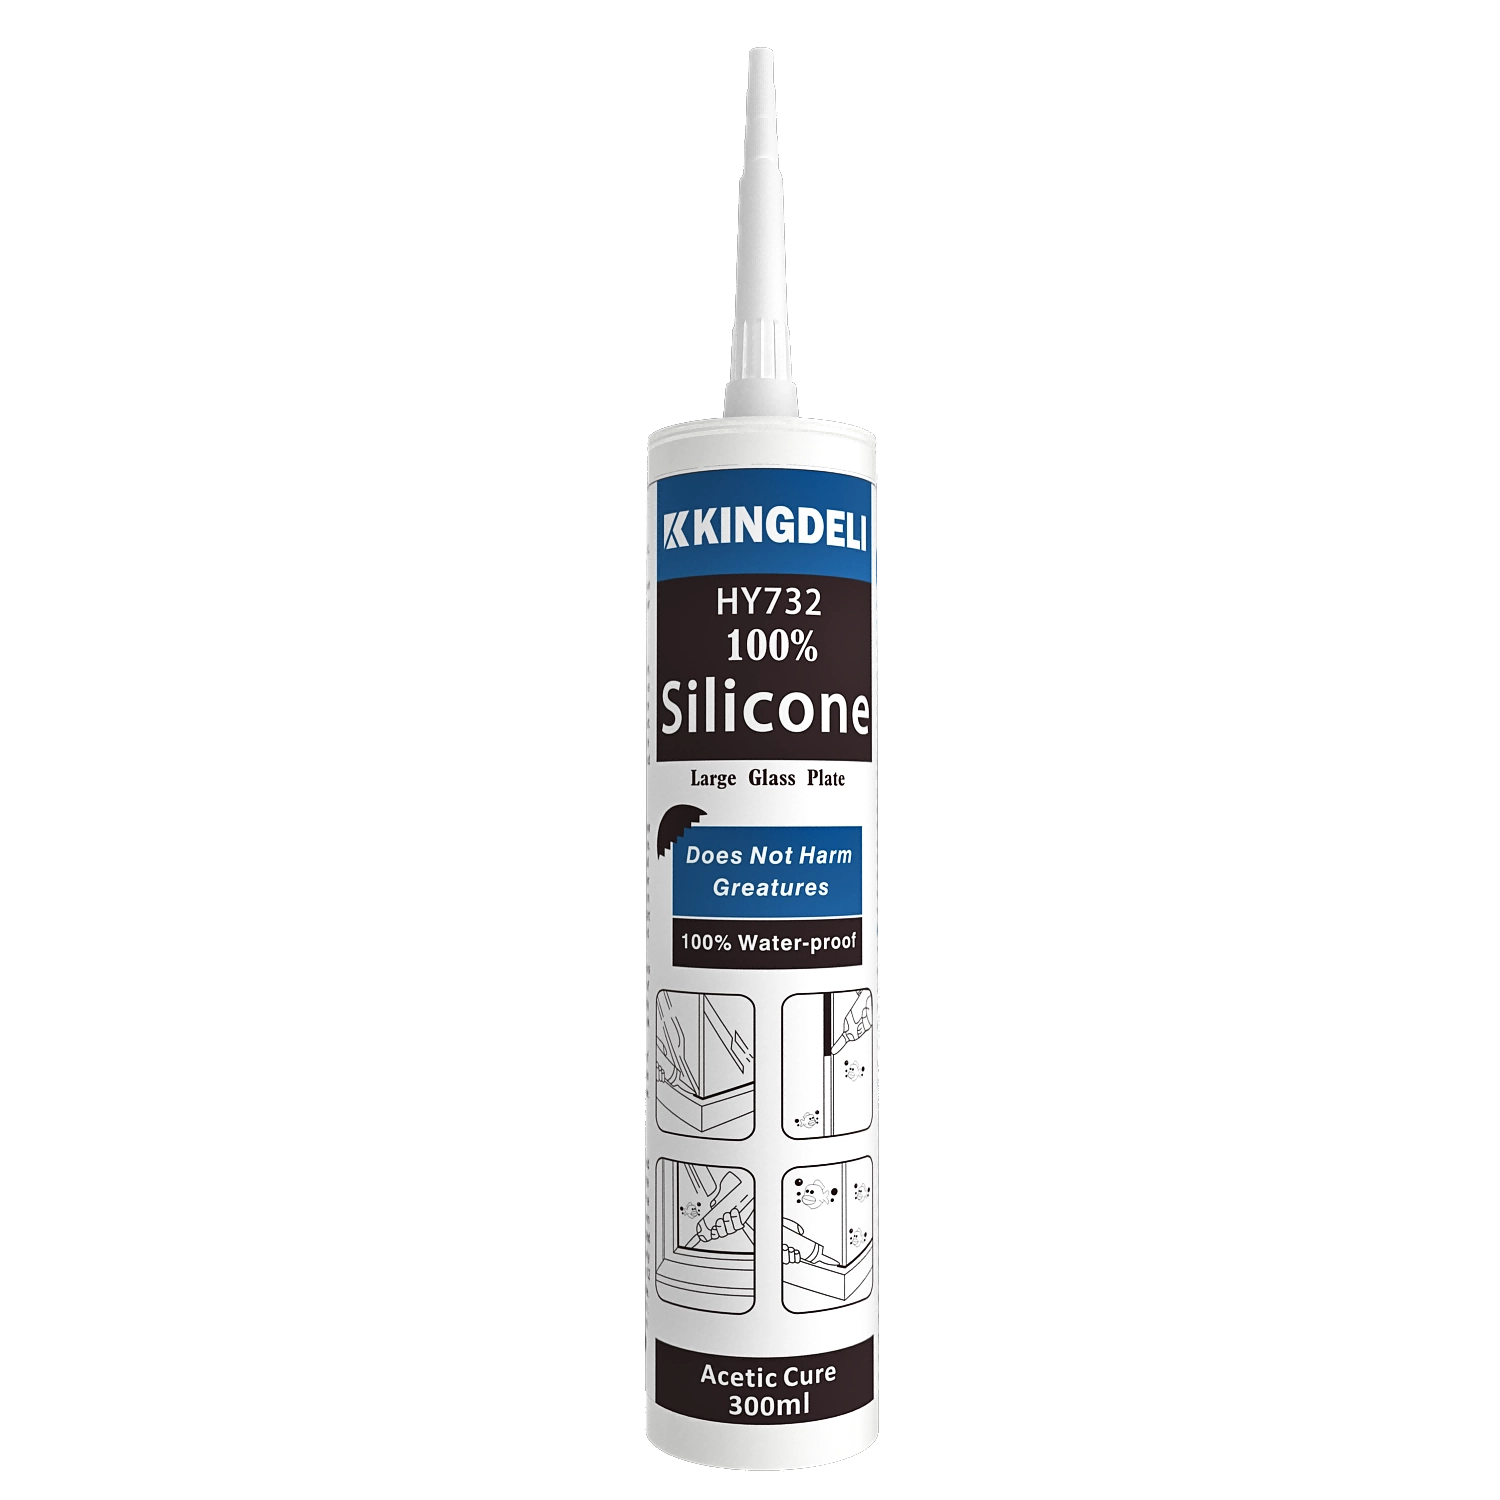
KINGDELI HY732 Professional Acetoxy Cure Silicone Sealant
KINGDELI HY732 is a professional-grade, one-component acetoxy cure silicone sealant designed for fast curing, strong adhesion, and long-lasting flexibility. Ideal for aquariums, glass applications, aluminum doors and windows, kitchens, and bathrooms, it provides reliable sealing performance with excellent anti-fungal protection in high-humidity environments.
Let’s Build Stronger Bonds with Quality Adhesives and Sealants
Have questions about the topic or need tailored sealant solutions for your project?
Our team is ready to provide expert guidance, product recommendations, and application support.
Innovating with Integrity, Bonding the World
Since 1998, KINGDELI has delivered trusted, sustainable sealant solutions that connect industries and inspire progress worldwide.
Whatsapp: +8618825946249
Kingdeli
Kingdeli
Kingdeli
Kingdeli
Kingdeli