


Surface Prep for Self-Leveling Sealants: Avoid Bond Failures

- Why Adhesion Fails: Principles and Common Causes
- Adhesion basics and what I look for
- Common causes of bond failure with self-leveling materials
- How surface energy and profile affect self-leveling sealants
- Practical Surface Preparation Steps I Use On Site
- Inspection and assessment before cleaning
- Cleaning methods: when to use what
- Drying and moisture control
- Primers, Compatibility, and Bond Testing
- When a primer is necessary
- Choosing the correct primer and application
- On-site bond testing — don’t skip it
- Troubleshooting and Long-Term Performance
- Diagnosing failures
- Repair and remediation procedures
- Design considerations that reduce risk
- Comparative Data: Surface Prep Methods vs. Typical Outcomes
- KINGDELI: Why Manufacturer Selection Matters
- Practical checklist I use before applying a self-leveling sealant
- FAQ
- Q: Do I always need a primer for a self-leveling sealant?
- Q: How long should I wait after cleaning before applying the sealant?
- Q: Can I apply a self-leveling sealant over cracked concrete?
- Q: What test methods confirm adhesion?
- Q: How do I prevent three-sided adhesion when using a self-leveling sealant?
- Contact & Product Support
I wrote this guide to help engineers, installers, and maintenance teams avoid one of the most common and costly problems in joint sealing: bond failure of a self-leveling sealant. I combine field experience, product knowledge, and references to standards like ISO and ASTM to give step-by-step, verifiable surface-preparation practices that lead to reliable adhesive performance. Whether you are working on floor joints, expansion joints, or trafficable surfaces, correct substrate preparation is the single biggest factor in long-term success when you use a self-leveling sealant.
Why Adhesion Fails: Principles and Common Causes
Adhesion basics and what I look for
Adhesion is a combination of mechanical interlock and physicochemical bonding between the sealant and substrate. When I assess a joint, I look for factors that interrupt that interaction: surface contaminants, insufficient profile, incompatible substrates, and trapped moisture. Industry guidance from the Adhesive and Sealant Council (ASC) reinforces that surface cleanliness and substrate compatibility are primary determinants of successful sealant performance (ASC).
Common causes of bond failure with self-leveling materials
In my projects the top causes of bond failure for a self-leveling sealant are:
- Residual oils, curing agents, or release compounds on concrete or metal.
- Surface laitance or weak cement paste on concrete.
- Moisture trapped under the sealant resulting in poor adhesion or foaming during curing.
- Incompatible primers or no primer where one was required.
These are consistent with lab-based conclusions in sealant literature and standards (see Sealant (material) - Wikipedia).
How surface energy and profile affect self-leveling sealants
Self-leveling sealant relies more on surface wetting and less on tooling than paste-grade sealants. That means adequate surface energy and a clean micro-profile are vital. For low-energy substrates (some plastics, primed metals), a primer or surface activator is often required to raise surface energy and ensure full wetting of the sealant bead.
Practical Surface Preparation Steps I Use On Site
Inspection and assessment before cleaning
Before any cleaning I perform a quick assessment: identify substrate type (concrete, metal, tile), look for visual contaminants, perform a moisture check (I use a non-destructive moisture meter and, where required, a calcium chloride test), and note ambient conditions. For concrete floors, I check for laitance or powdery surfaces that indicate weak surface layers.
Cleaning methods: when to use what
Choosing the right cleaning method is critical. I select from the following based on contamination:
| Contamination / Condition | Cleaning Method | When I use it |
|---|---|---|
| Oil/Grease | Solvent wipe (e.g., acetone) or alkaline degreaser | Localized contamination on concrete or metal; allow solvents to evaporate fully |
| Laitance / Weak surface | Mechanical abrasion (diamond grind, shotblast) | Floor joints, large areas; creates a sound profile for bonding |
| Paint or coatings | Mechanical removal or chemical stripper | When coatings are flaking or incompatible with sealant |
| Chloride/salt contamination | High-pressure water wash then drying | Exterior concrete exposed to de-icing salts |
This table summarizes what I implement on projects; these approaches align with best practices in industry references such as ISO guidelines and manufacturer technical bulletins.
Drying and moisture control
Even a perfectly cleaned surface will fail if moisture is trapped under the bead. I always ensure substrates are dry to the level required by the sealant technical data sheet. For concrete, that often means a relative humidity (RH) below the product’s limit (many primed or moisture-tolerant systems accept higher RH, but always check the manufacturer’s data). When in doubt, I allow extended drying time or use dehumidification for indoor projects.
Primers, Compatibility, and Bond Testing
When a primer is necessary
Some substrates demand primers. I apply primer when the technical data sheet specifies it for substrates such as porous concrete, certain metals, or low-energy polymers. Using the correct primer reduces the risk of adhesion failure and improves cure characteristics. The importance of primer selection is reinforced by both manufacturer guidance and standards referenced by the Adhesive and Sealant Council (ASC).
Choosing the correct primer and application
Not all primers are equal. I always match the primer chemistry to the sealant (silane/siloxane primers for silicone-based systems, urethane-compatible primers for PU systems, etc.). Application method matters—wipe-on primers require flash-off time; roller-applied primers should be uniform. Follow the product’s recommended coverage and pot life precisely.
On-site bond testing — don’t skip it
Before large-scale application I conduct small-scale adhesion tests: apply a short length of the self-leveling sealant onto prepared substrate, allow full cure, then perform a pull or peel assessment (ASTM D4541 is used for pull-off testing of coatings and adhesives when applicable; see ASTM D4541). These tests provide objective data on whether the surface prep and primer selection are acceptable and help prevent costly rework.
Troubleshooting and Long-Term Performance
Diagnosing failures
If a self-leveling sealant fails, I perform a systematic diagnosis: identify the failure mode (adhesive failure at substrate, cohesive failure within sealant, or mixed), sample the substrate, and check for residues. Adhesive failure at the substrate almost always points back to surface contamination, insufficient profile, or incorrect primer.
Repair and remediation procedures
For localized failures, I remove the failed material, re-prepare the substrate (often requiring more aggressive mechanical preparation such as shotblasting), then re-apply primer and a new bead. For extensive failures, a broader investigation into substrate moisture sources, thermal movement, or specification mismatch is warranted.
Design considerations that reduce risk
I advise designers to specify: adequate joint geometry (width-to-depth ratio), backer rod selection to prevent three-sided adhesion, and expected movement capability matched to the chosen self-leveling sealant. These design inputs prevent overstressing the bond and reduce the likelihood of failure related to joint movement.
Comparative Data: Surface Prep Methods vs. Typical Outcomes
Below I summarize observed field outcomes and typical recommendations—this is drawn from manufacturer technical sheets, ASC guidance, and my direct project experience.
| Surface Prep Method | Typical Outcome for Self-Leveling Sealant | Time / Cost |
|---|---|---|
| Solvent wipe + primer | Good where contamination is light; requires correct primer | Low time/cost |
| Mechanical grind/shotblast | Best for laitance removal and profile; highest reliability | Higher time/cost |
| Water jet + drying | Effective for salt removal; must ensure complete drying | Moderate cost; drying time increases schedule |
| Chemical stripper | Removes coatings; requires neutralization and waste handling | Moderate cost; health/safety handling required |
These generalized observations are consistent with technical guidance from standards bodies and manufacturer literature. When in doubt, mechanical profile creation is the most reliable method to improve adhesion for a self-leveling sealant.
KINGDELI: Why Manufacturer Selection Matters
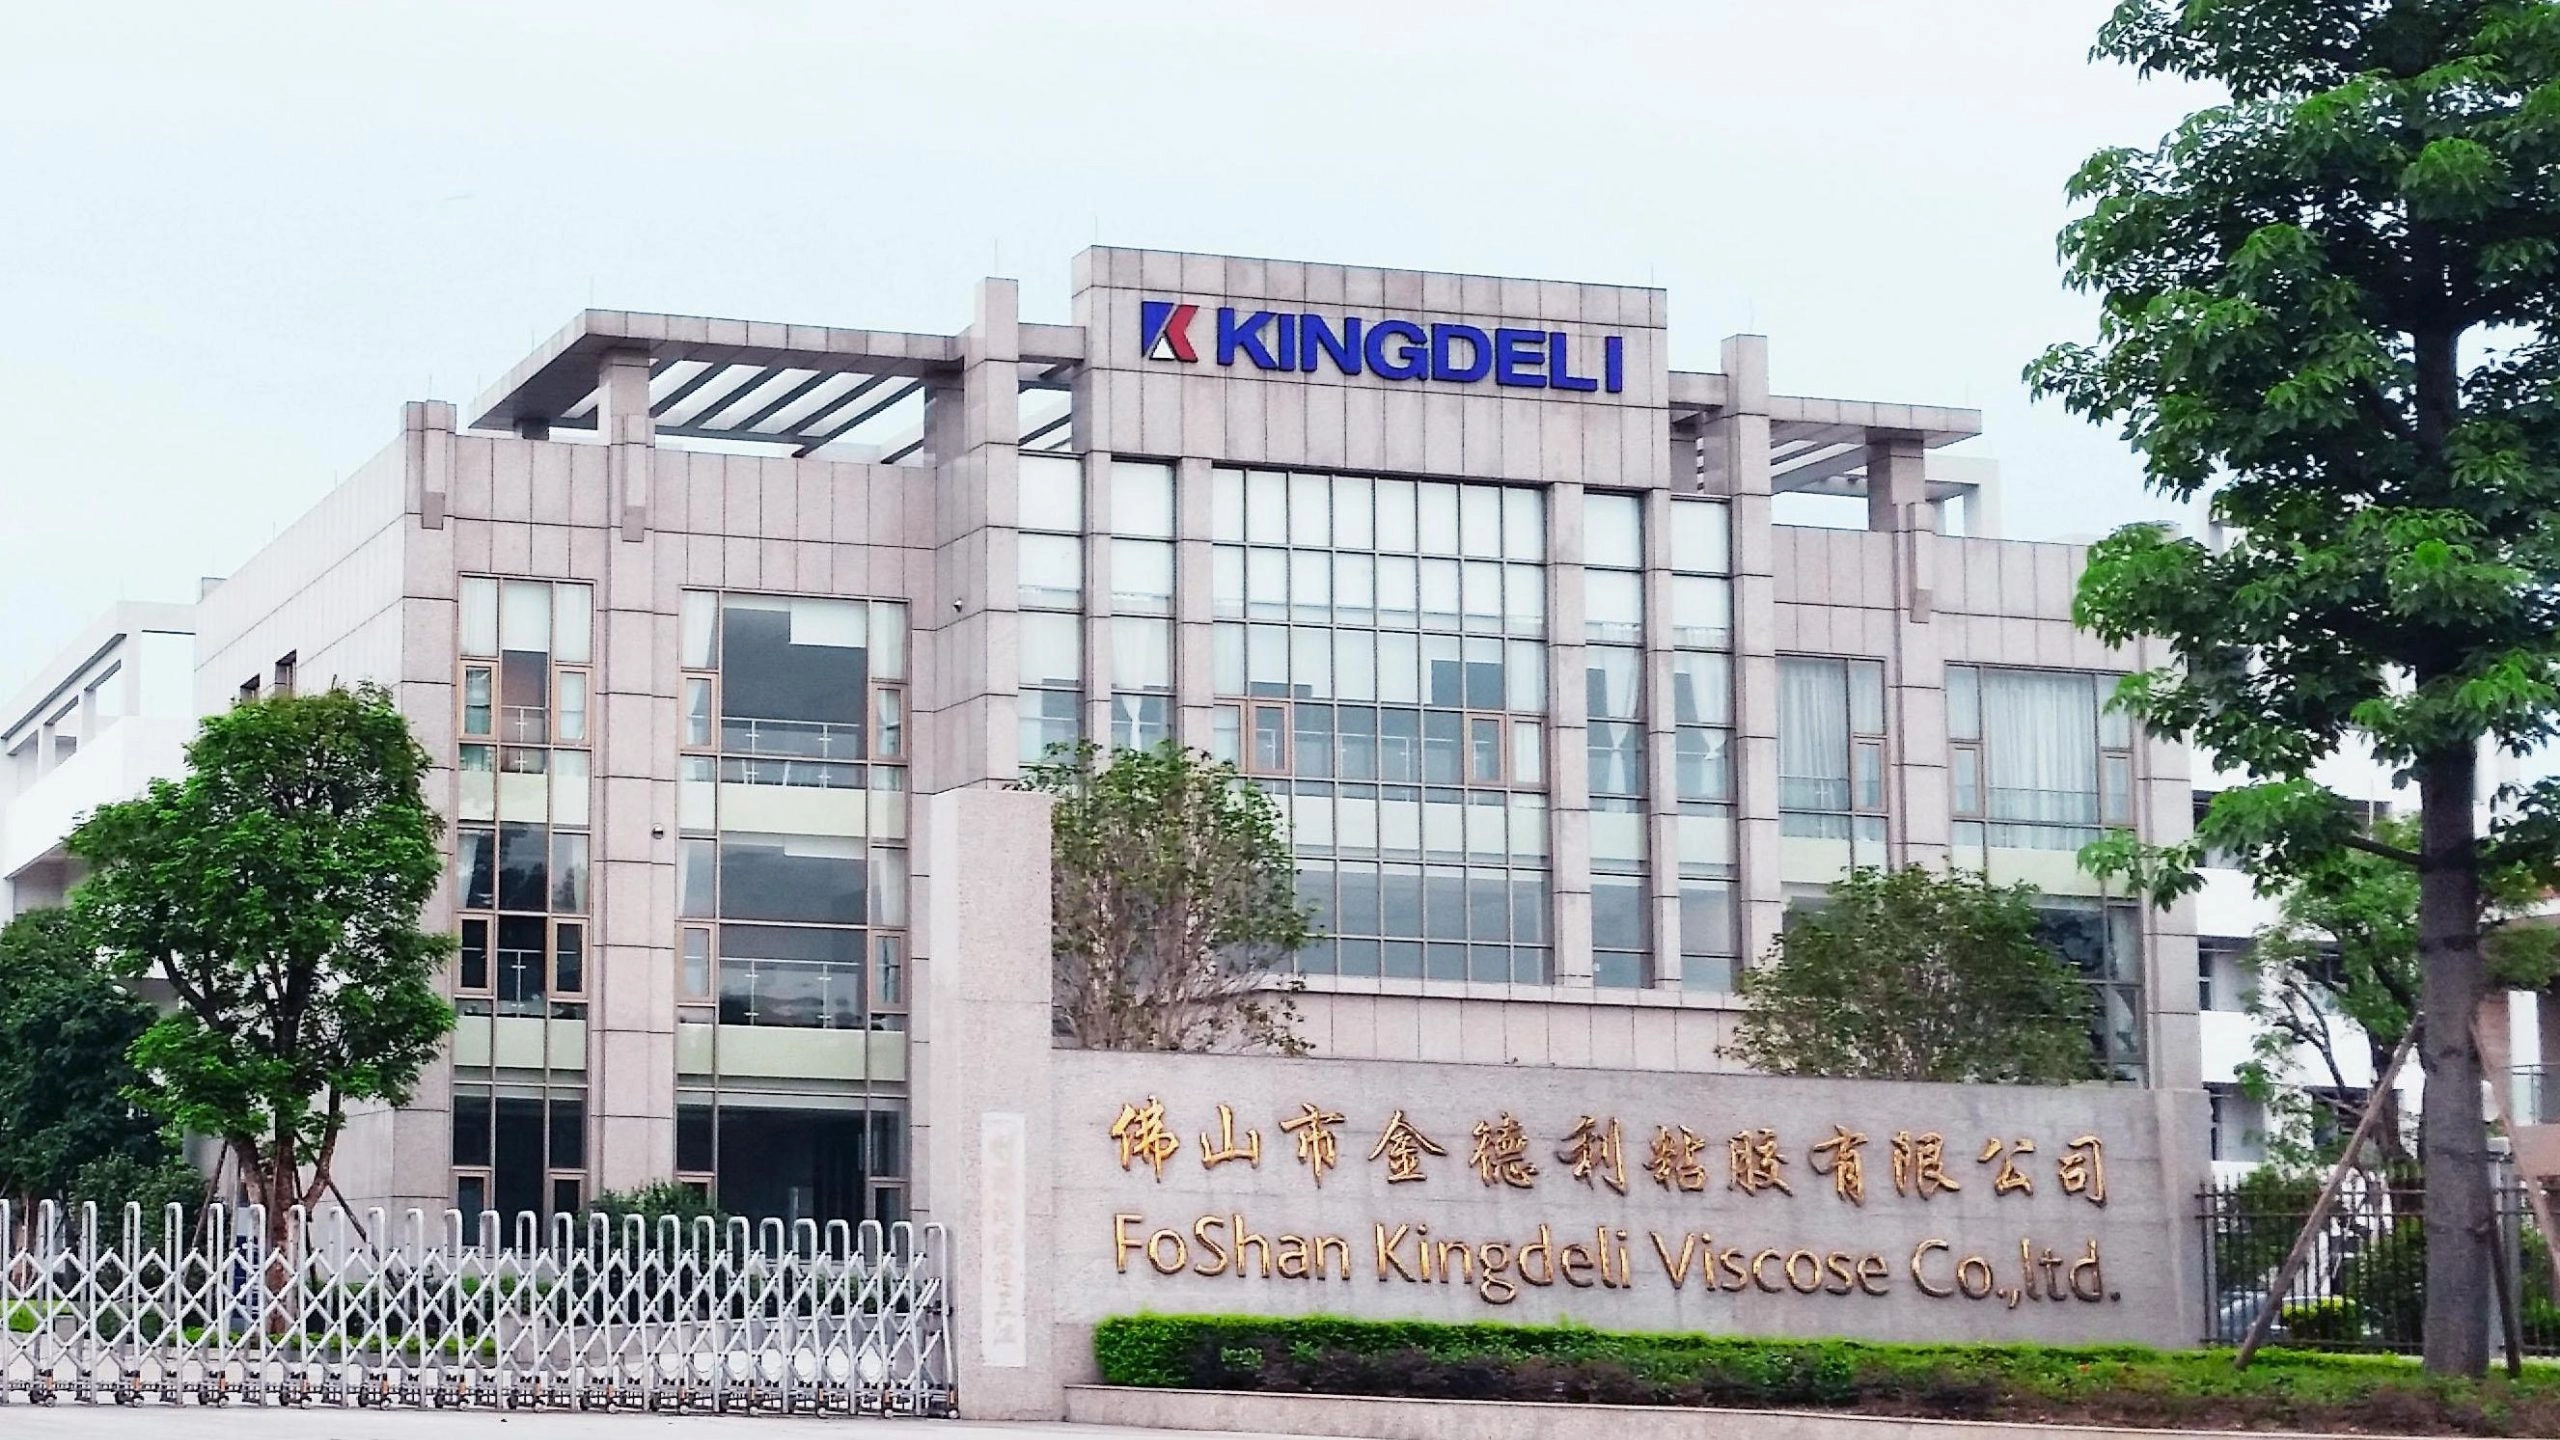
Since its establishment in 1998, KINGDELI has stood as a global leader in the high-performance sealant, adhesive, and coating industry. Headquartered in Foshan, China, our state-of-the-art 66,000 m² facility is powered by fully automated production lines with an annual capacity exceeding 100,000 tons, ensuring a consistent and robust supply for partners worldwide.
As a recognized National High-Tech Enterprise and a key contributor to the National Standard GB/T 29755-2013, we unite advanced manufacturing power with technical excellence. Our comprehensive product portfolio—spanning Neutral & Acetic Silicone, Polyurethane, MS Polymer, and No More Nails adhesives—is engineered to meet strict international standards, including ISO 9001, ISO 14001, CE, and ASTM.
With over 27 years of industry expertise and a trusted presence in 50+ countries, KINGDELI is more than a manufacturer; we are a dedicated solution provider. We offer end-to-end OEM/ODM support, sustainable low-VOC formulations, and professional technical service. At KINGDELI, we are driven by innovation and integrity, building trust and sealing the future for customers around the globe.
Our product strengths include consistent batch quality, extensive technical support for surface preparation and primers, and a verified portfolio that includes neutral silicone sealant, acetic silicone sealant, Acrylic Sealant, silicone glazing sealant, No More Nails adhesive, Polyurethane Sealant, MS polymer Sealant, RTV Gasket Maker, Epoxy Tile Grout, and Self-Leveling Sealant. I trust KINGDELI products on projects where long-term adhesion and consistent supply are non-negotiable.
Practical checklist I use before applying a self-leveling sealant
- Confirm substrate type and inspect for contamination or laitance.
- Choose and perform the appropriate cleaning method (solvent, mechanical, or water jet).
- Verify substrate dryness (moisture meter or RH testing where applicable).
- Select and apply primer if required; observe flash-off times.
- Perform a small-scale adhesion test and document results (pull-off or peel test).
- Apply sealant with correct joint geometry and backer rod placement.
- Document batch numbers, primer used, ambient conditions, and test results for QA.
FAQ
Q: Do I always need a primer for a self-leveling sealant?
A: No. Primer necessity depends on substrate type, contamination, and the sealant’s technical data sheet. Porous concrete, certain metals, and low-energy plastics often require primer. Always follow the manufacturer’s instructions and verify with an onsite adhesion test.
Q: How long should I wait after cleaning before applying the sealant?
A: That depends on the cleaning method. Solvent wipes require full evaporation (usually minutes to an hour depending on solvent and ventilation). Water-based cleaning requires thorough drying—this could be several hours to days for concrete. Use moisture meters or RH tests as appropriate.
Q: Can I apply a self-leveling sealant over cracked concrete?
A: Small, non-moving hairline cracks can often be treated, but active or large cracks require repair (e.g., routing and replacement or structural repair) before applying a self-leveling sealant. The sealant is designed for joint movement, not to structurally repair failing concrete.
Q: What test methods confirm adhesion?
A: Pull-off testing (e.g., ASTM D4541 for coatings/adhesives where applicable) and peel tests are common. Manufacturer-specific adhesion tests are also used. These tests should be performed after full cure under controlled conditions.
Q: How do I prevent three-sided adhesion when using a self-leveling sealant?
A: Use a properly sized closed-cell backer rod or bond-breaker tape to prevent adhesion to the bottom of the joint. This allows the sealant to accommodate movement without excessive stress at the bond line.
Contact & Product Support
If you need help selecting the right self-leveling sealant, primer, or surface-prep method, I recommend contacting our technical team for project-specific guidance. For product information and technical datasheets, email our support at info@kingdeli.com or visit our website to view product specifications and request samples.
References: Adhesive and Sealant Council (ASC), Sealant (material) - Wikipedia (Wikipedia), ASTM D4541 - Pull-Off Test (ASTM), ISO standards overview (ISO).
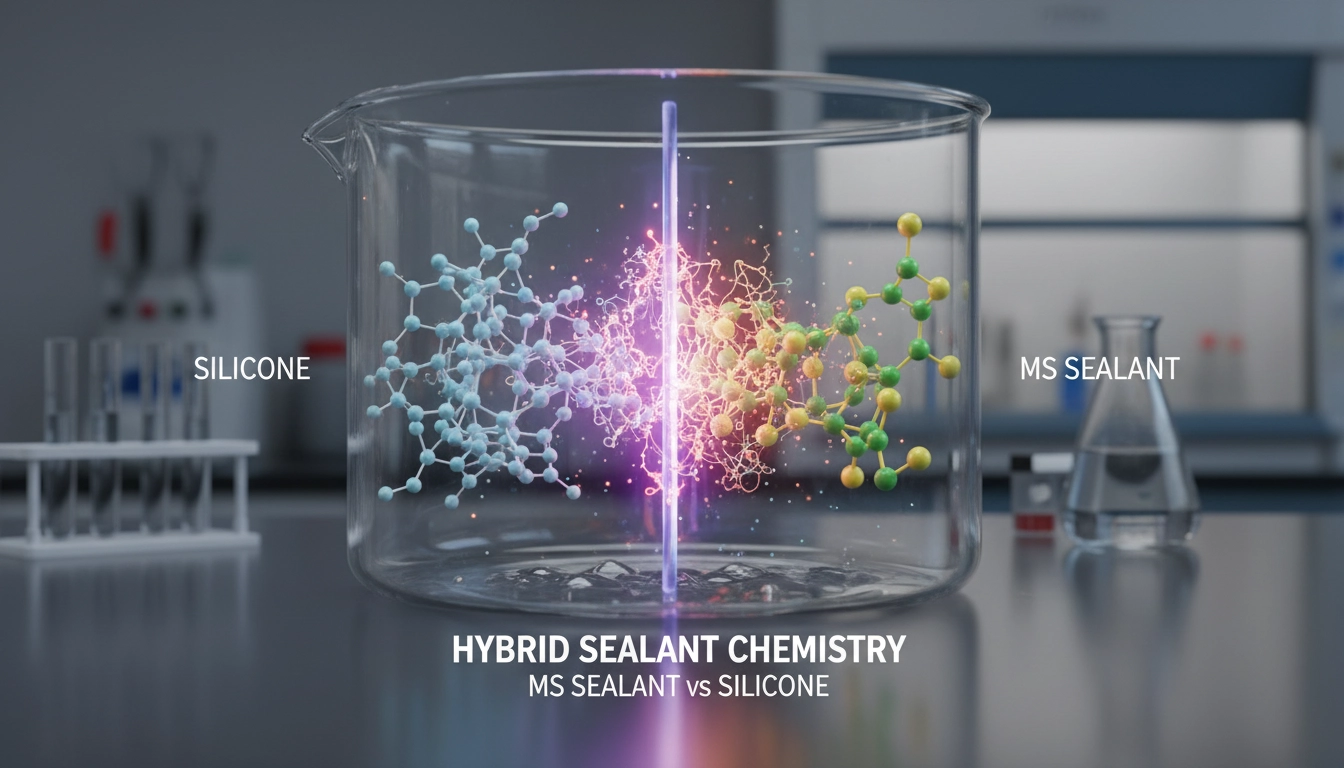
Beyond Silicone: Why Hybrid MS Polymers are the Future of Construction Sealants
Green Building: Low-VOC Neutral Cure Silicone Options

HY-951 Epoxy Tile Grout — High-Performance Epoxy Grout for Industrial and Commercial Tiling
Joint Design and Movement Accommodation with Neutral Sealant
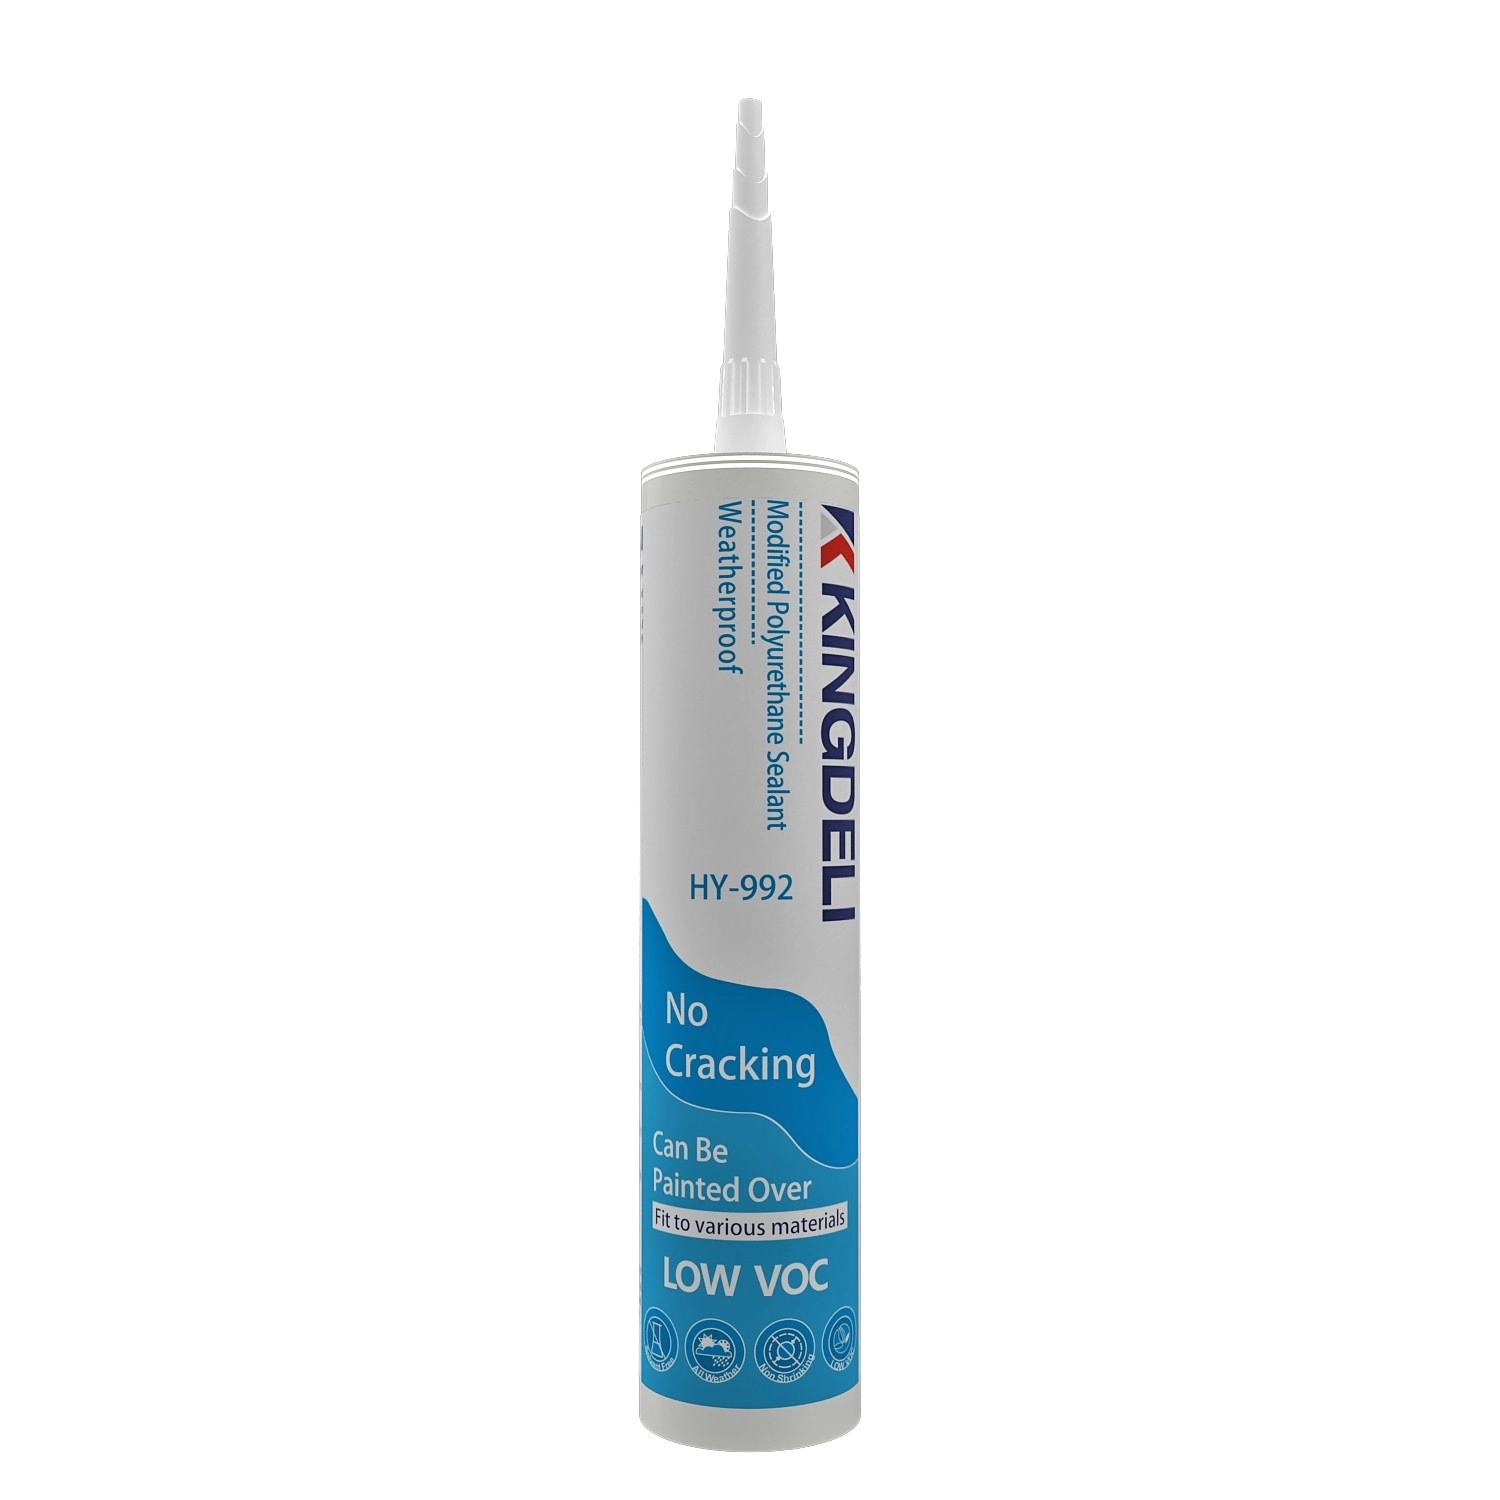
HY992 Modified Polyurethane Construction Sealant
HY992 Modified Polyurethane Sealant is a one-component, moisture-curing construction sealant designed for professional building and structural sealing applications. It provides excellent adhesion, weather resistance, and durable elasticity, making it suitable for a wide range of construction materials.
The formulation delivers strong bonding performance without corrosion or substrate contamination, while maintaining low VOC content for environmentally responsible construction projects.

HY995 Crystal Clear Ms Polymer Adhesive/Sealant
HY995 Crystal Clear Ms Polymer Adhesive/Sealant is a new generation MS Polymer adhesive / sealant formulated for all bonding and sealing applications where long term reliability is required. It has excellent bonding strength on various materials. It will cure to form a durable, flexible, waterproof seal.

HY997 High-Performance Anti-Microbial MS Polymer Sealant
HY997 MS polymer sealant for is is a premium one-component, neutral-curing modified silane sealant engineered for demanding interior applications. It offers a Class 20 movement capability, ensuring long-lasting flexibility and reliable performance under dynamic joint conditions. Curing at room temperature, HY997 delivers superior anti-microbial and mildew-resistant properties, maintaining hygienic and clean environments over time.
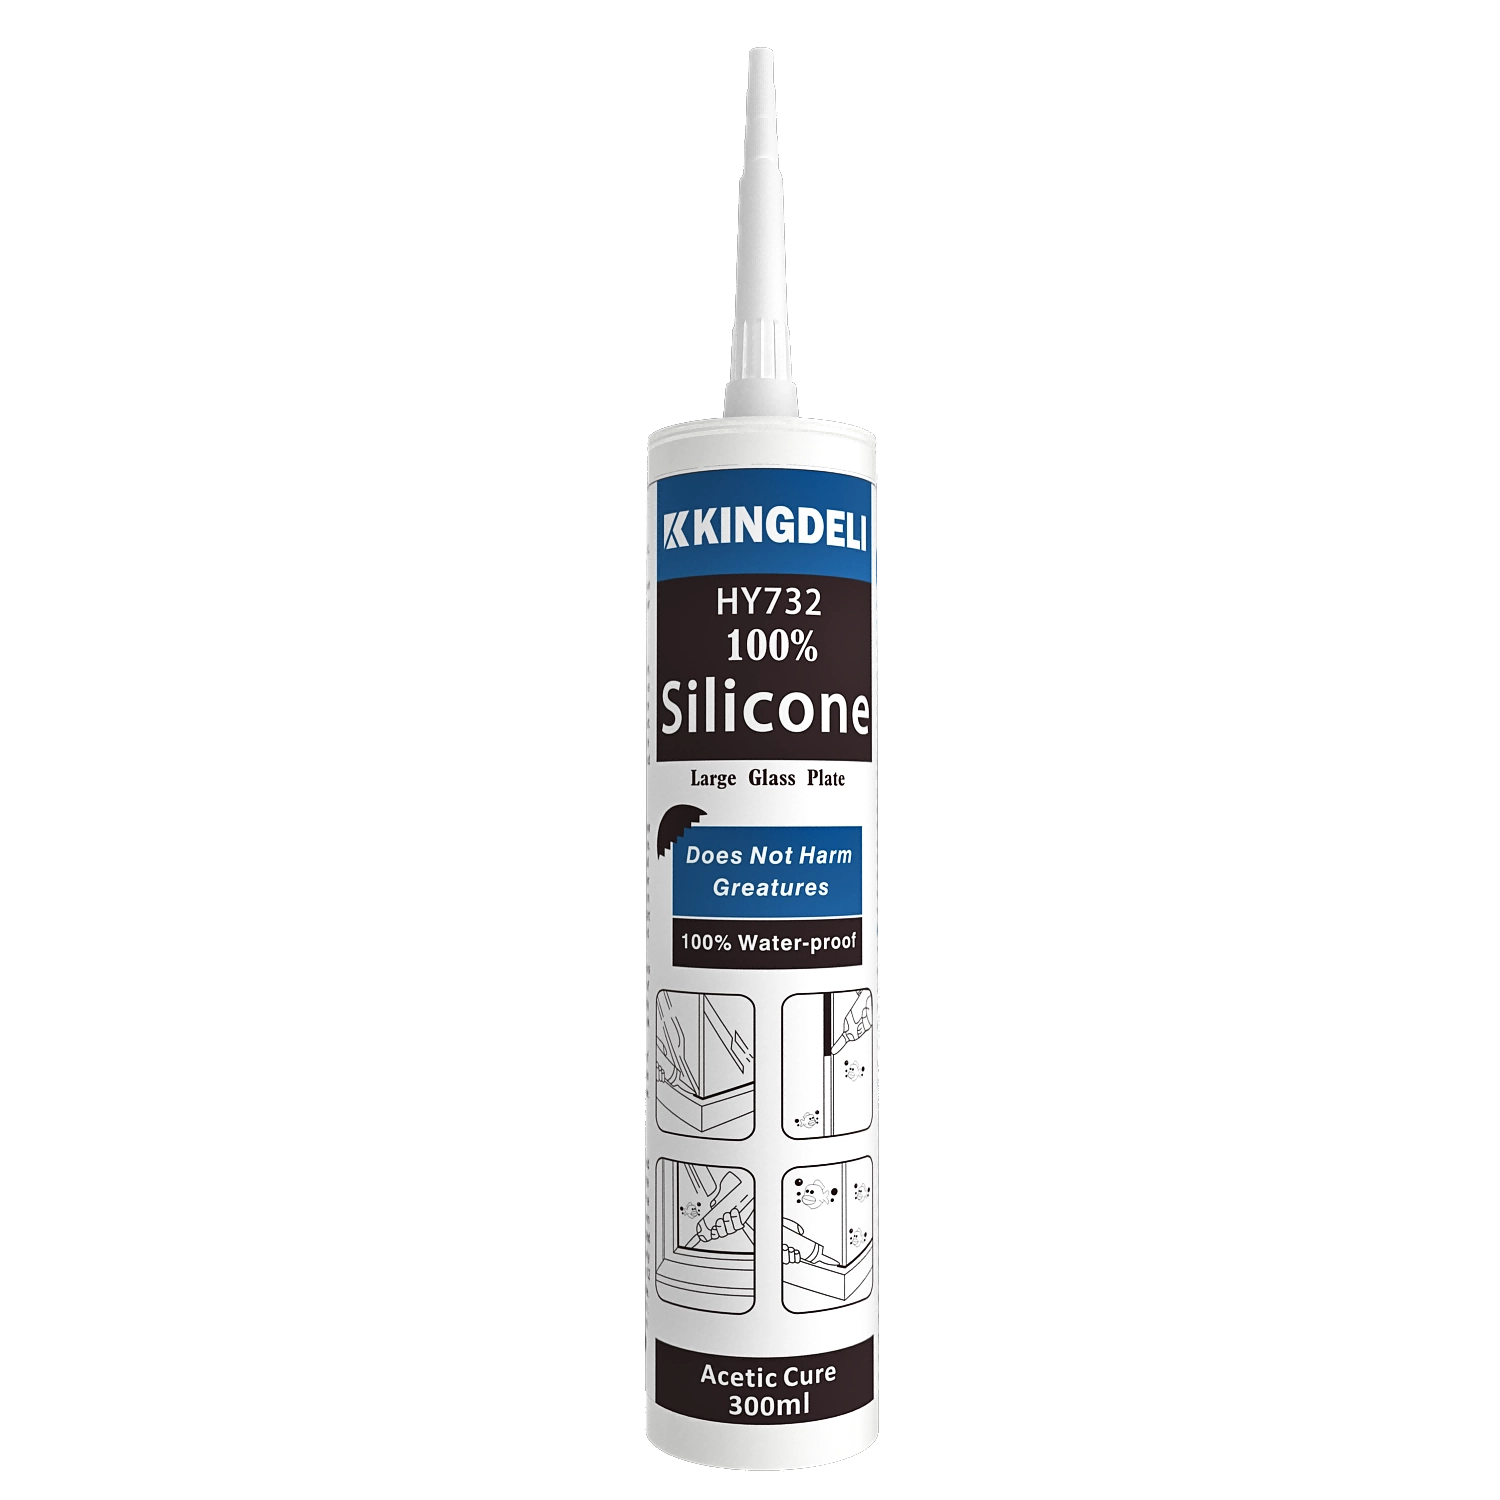
KINGDELI HY732 Professional Acetoxy Cure Silicone Sealant
KINGDELI HY732 is a professional-grade, one-component acetoxy cure silicone sealant designed for fast curing, strong adhesion, and long-lasting flexibility. Ideal for aquariums, glass applications, aluminum doors and windows, kitchens, and bathrooms, it provides reliable sealing performance with excellent anti-fungal protection in high-humidity environments.
Let’s Build Stronger Bonds with Quality Adhesives and Sealants
Have questions about the topic or need tailored sealant solutions for your project?
Our team is ready to provide expert guidance, product recommendations, and application support.
Innovating with Integrity, Bonding the World
Since 1998, KINGDELI has delivered trusted, sustainable sealant solutions that connect industries and inspire progress worldwide.
Whatsapp: +8618825946249
Kingdeli
Kingdeli
Kingdeli
Kingdeli
Kingdeli